Book Creator – Layers of Accessibility Built In!
Book Creator – Layers of Accessibility Built In!
No prizes for guessing what the brilliant app ‘Book Creator’ does! It is, of course, an amazing tool for creating multimedia books in any classroom. But that’s not all! This Apple Education Partner app provides a bedrock of accessibility. Learners of any literacy level can use Book Creator to build outstanding pieces of work. Throughout this blog and the downloadable ‘Teacher Guide’, we’ll explore the layers of accessibility built into the app that enables anyone to create a book.

Adding Movies and Photos
One of Book Creator’s many attributes is that the app serves up a blank template for learners to fill. In turn, this means that there is no impotence to rely on traditional writing skills. App users can choose how they wish to create content by adding a range of multimedia elements to a page. One such option is the ‘Camera’ button. Tapping on this opens the iPad’s camera and enables students to film or take photos in the classroom. This simple option means that learners with low literacy levels can rely on performance skills instead, of capturing their words on film. The same tool also enables classmates with low typing skills to easily insert some hand-written text into the book by snapping a pic of their work.
Adding Digital Handwriting through Drawings
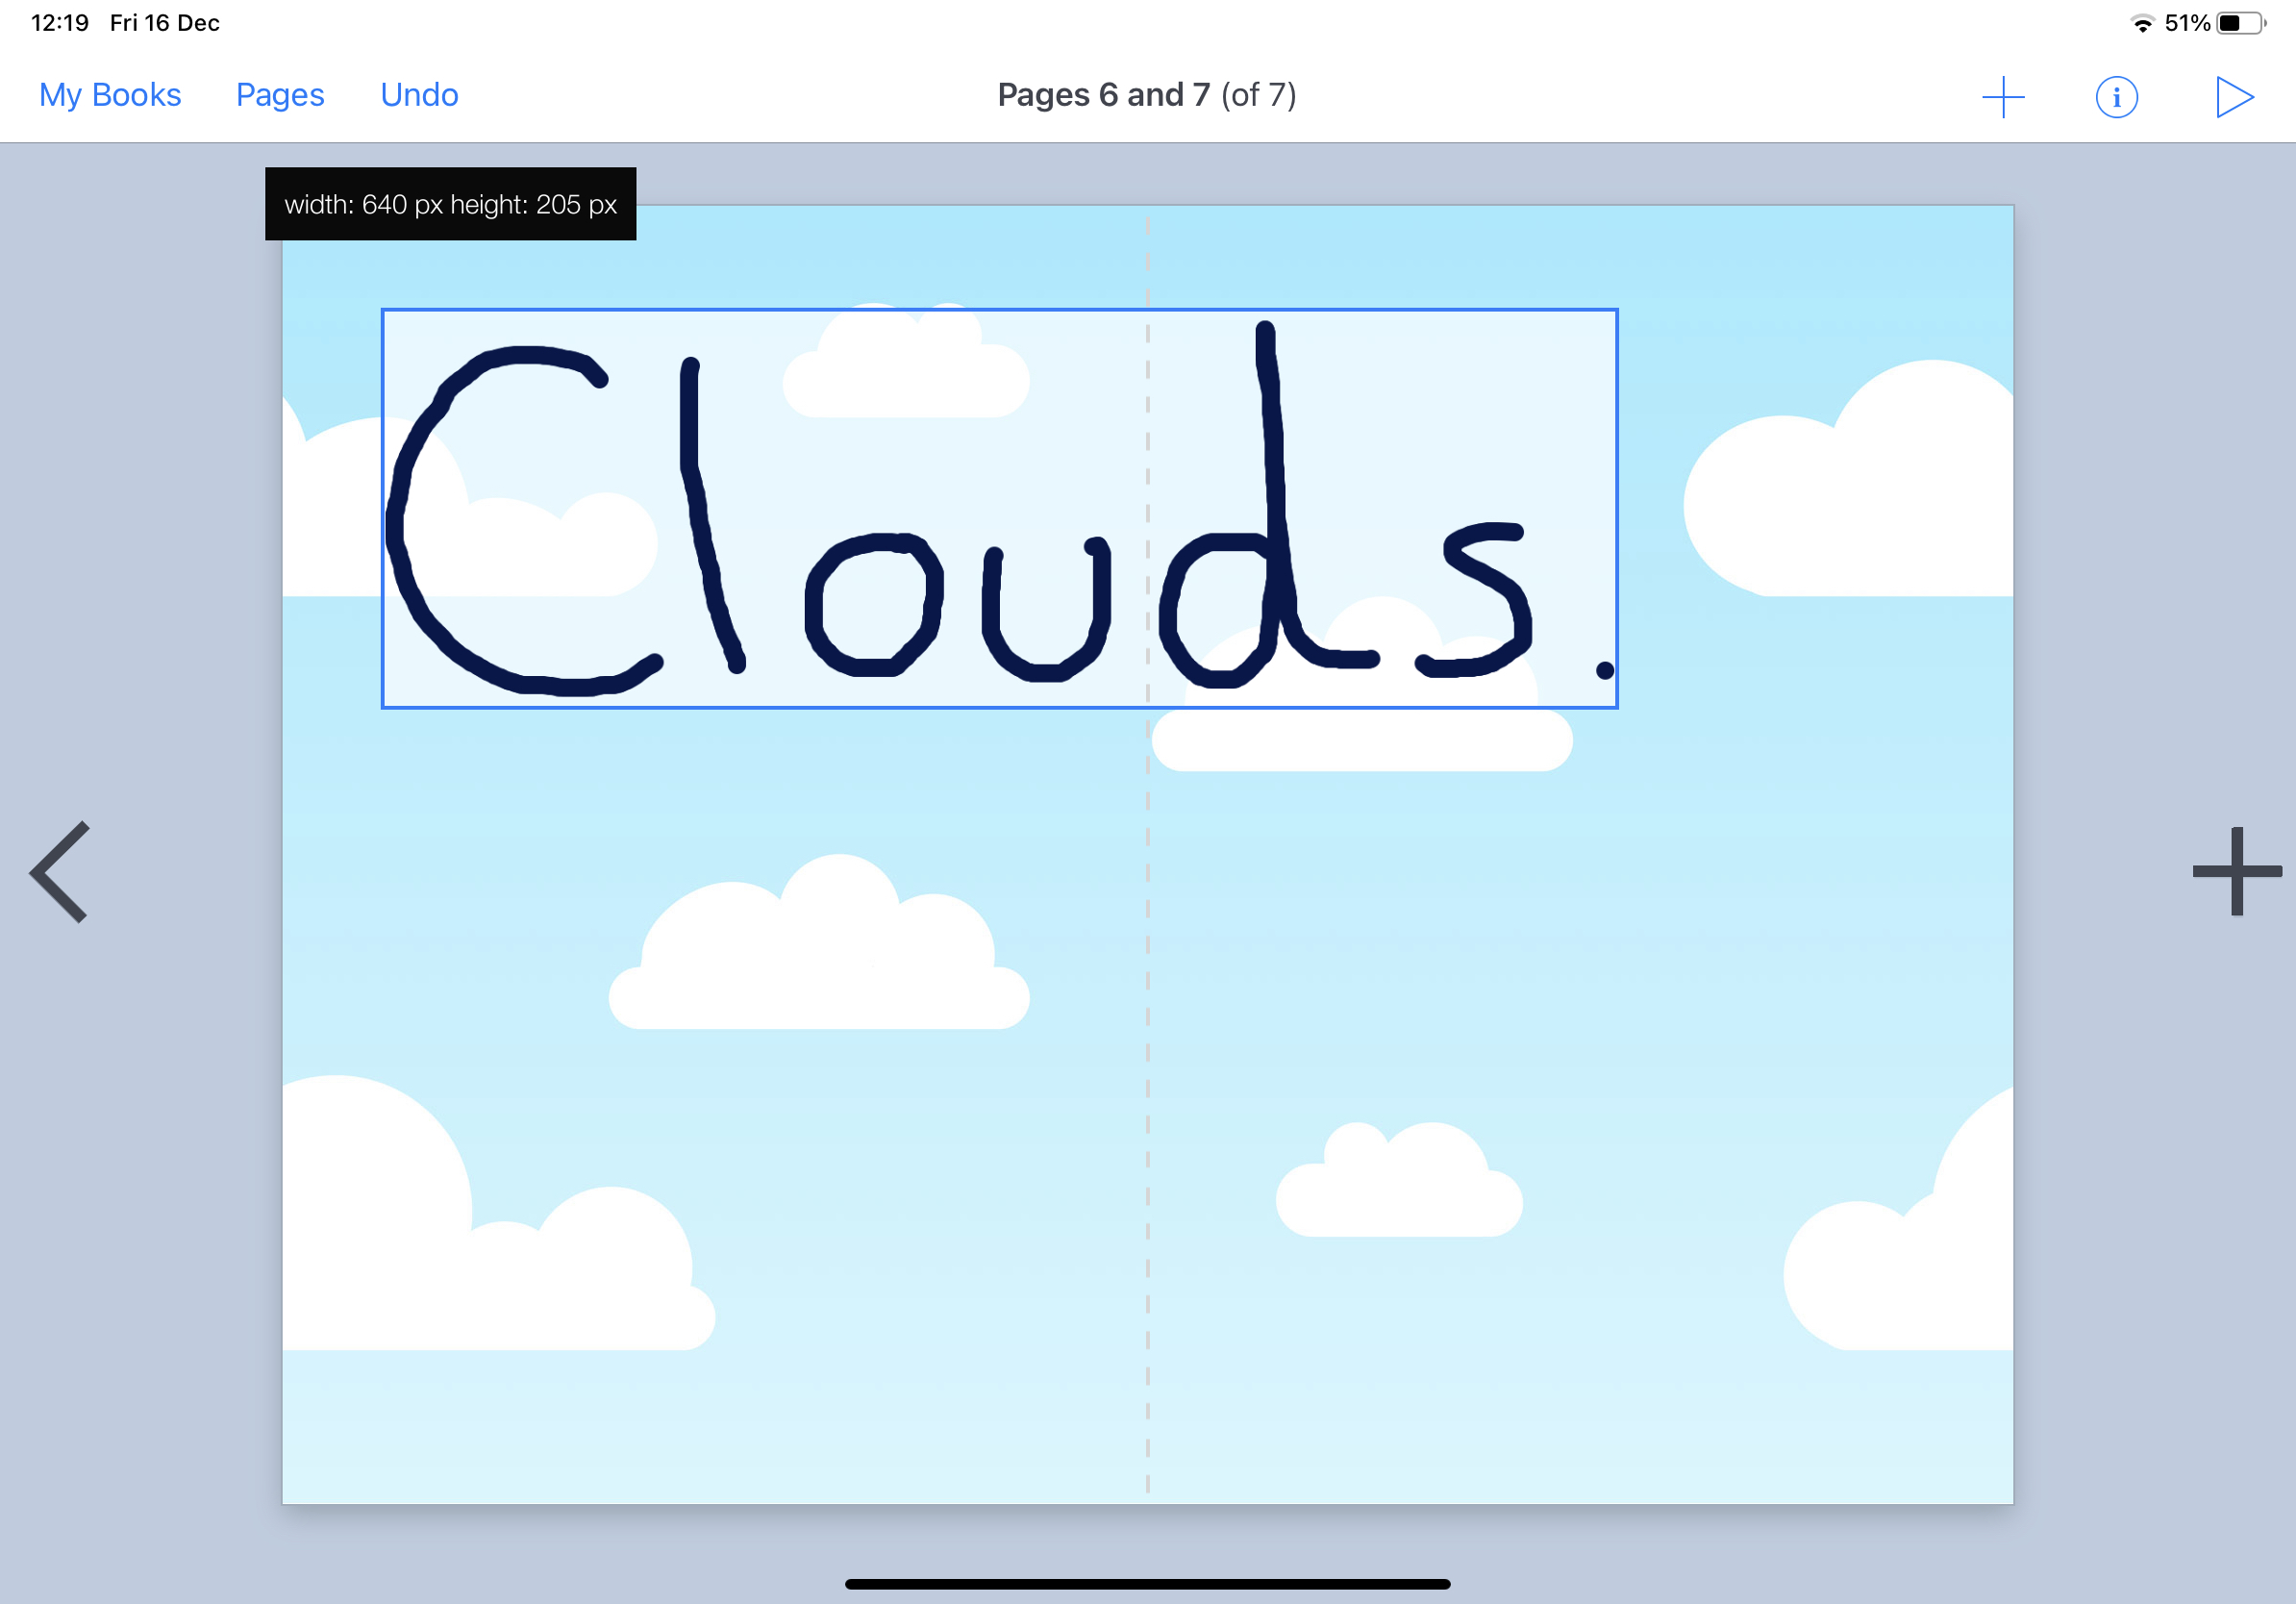
Taking a photo of physically written text is a great way of getting content into a Book Creator book. However, another built-in feature allows app users to form letters and words without using the camera or keyboard. Tapping on the ‘Drawing’ option opens a simple pen tool. You can change the colour and the texture of the pen, but that’s not the best part. The best part is that you can write out letters and words using a pen or stylus as large as you like on the page. When finished, you can then shrink the ‘drawing’ down to the appropriate size. Ultimately, this means that poor fine motor skills do not impede letter formation. Learners can fill an entire screen with one word at a time and resize them as they go!
Adding Siri Dictated Text
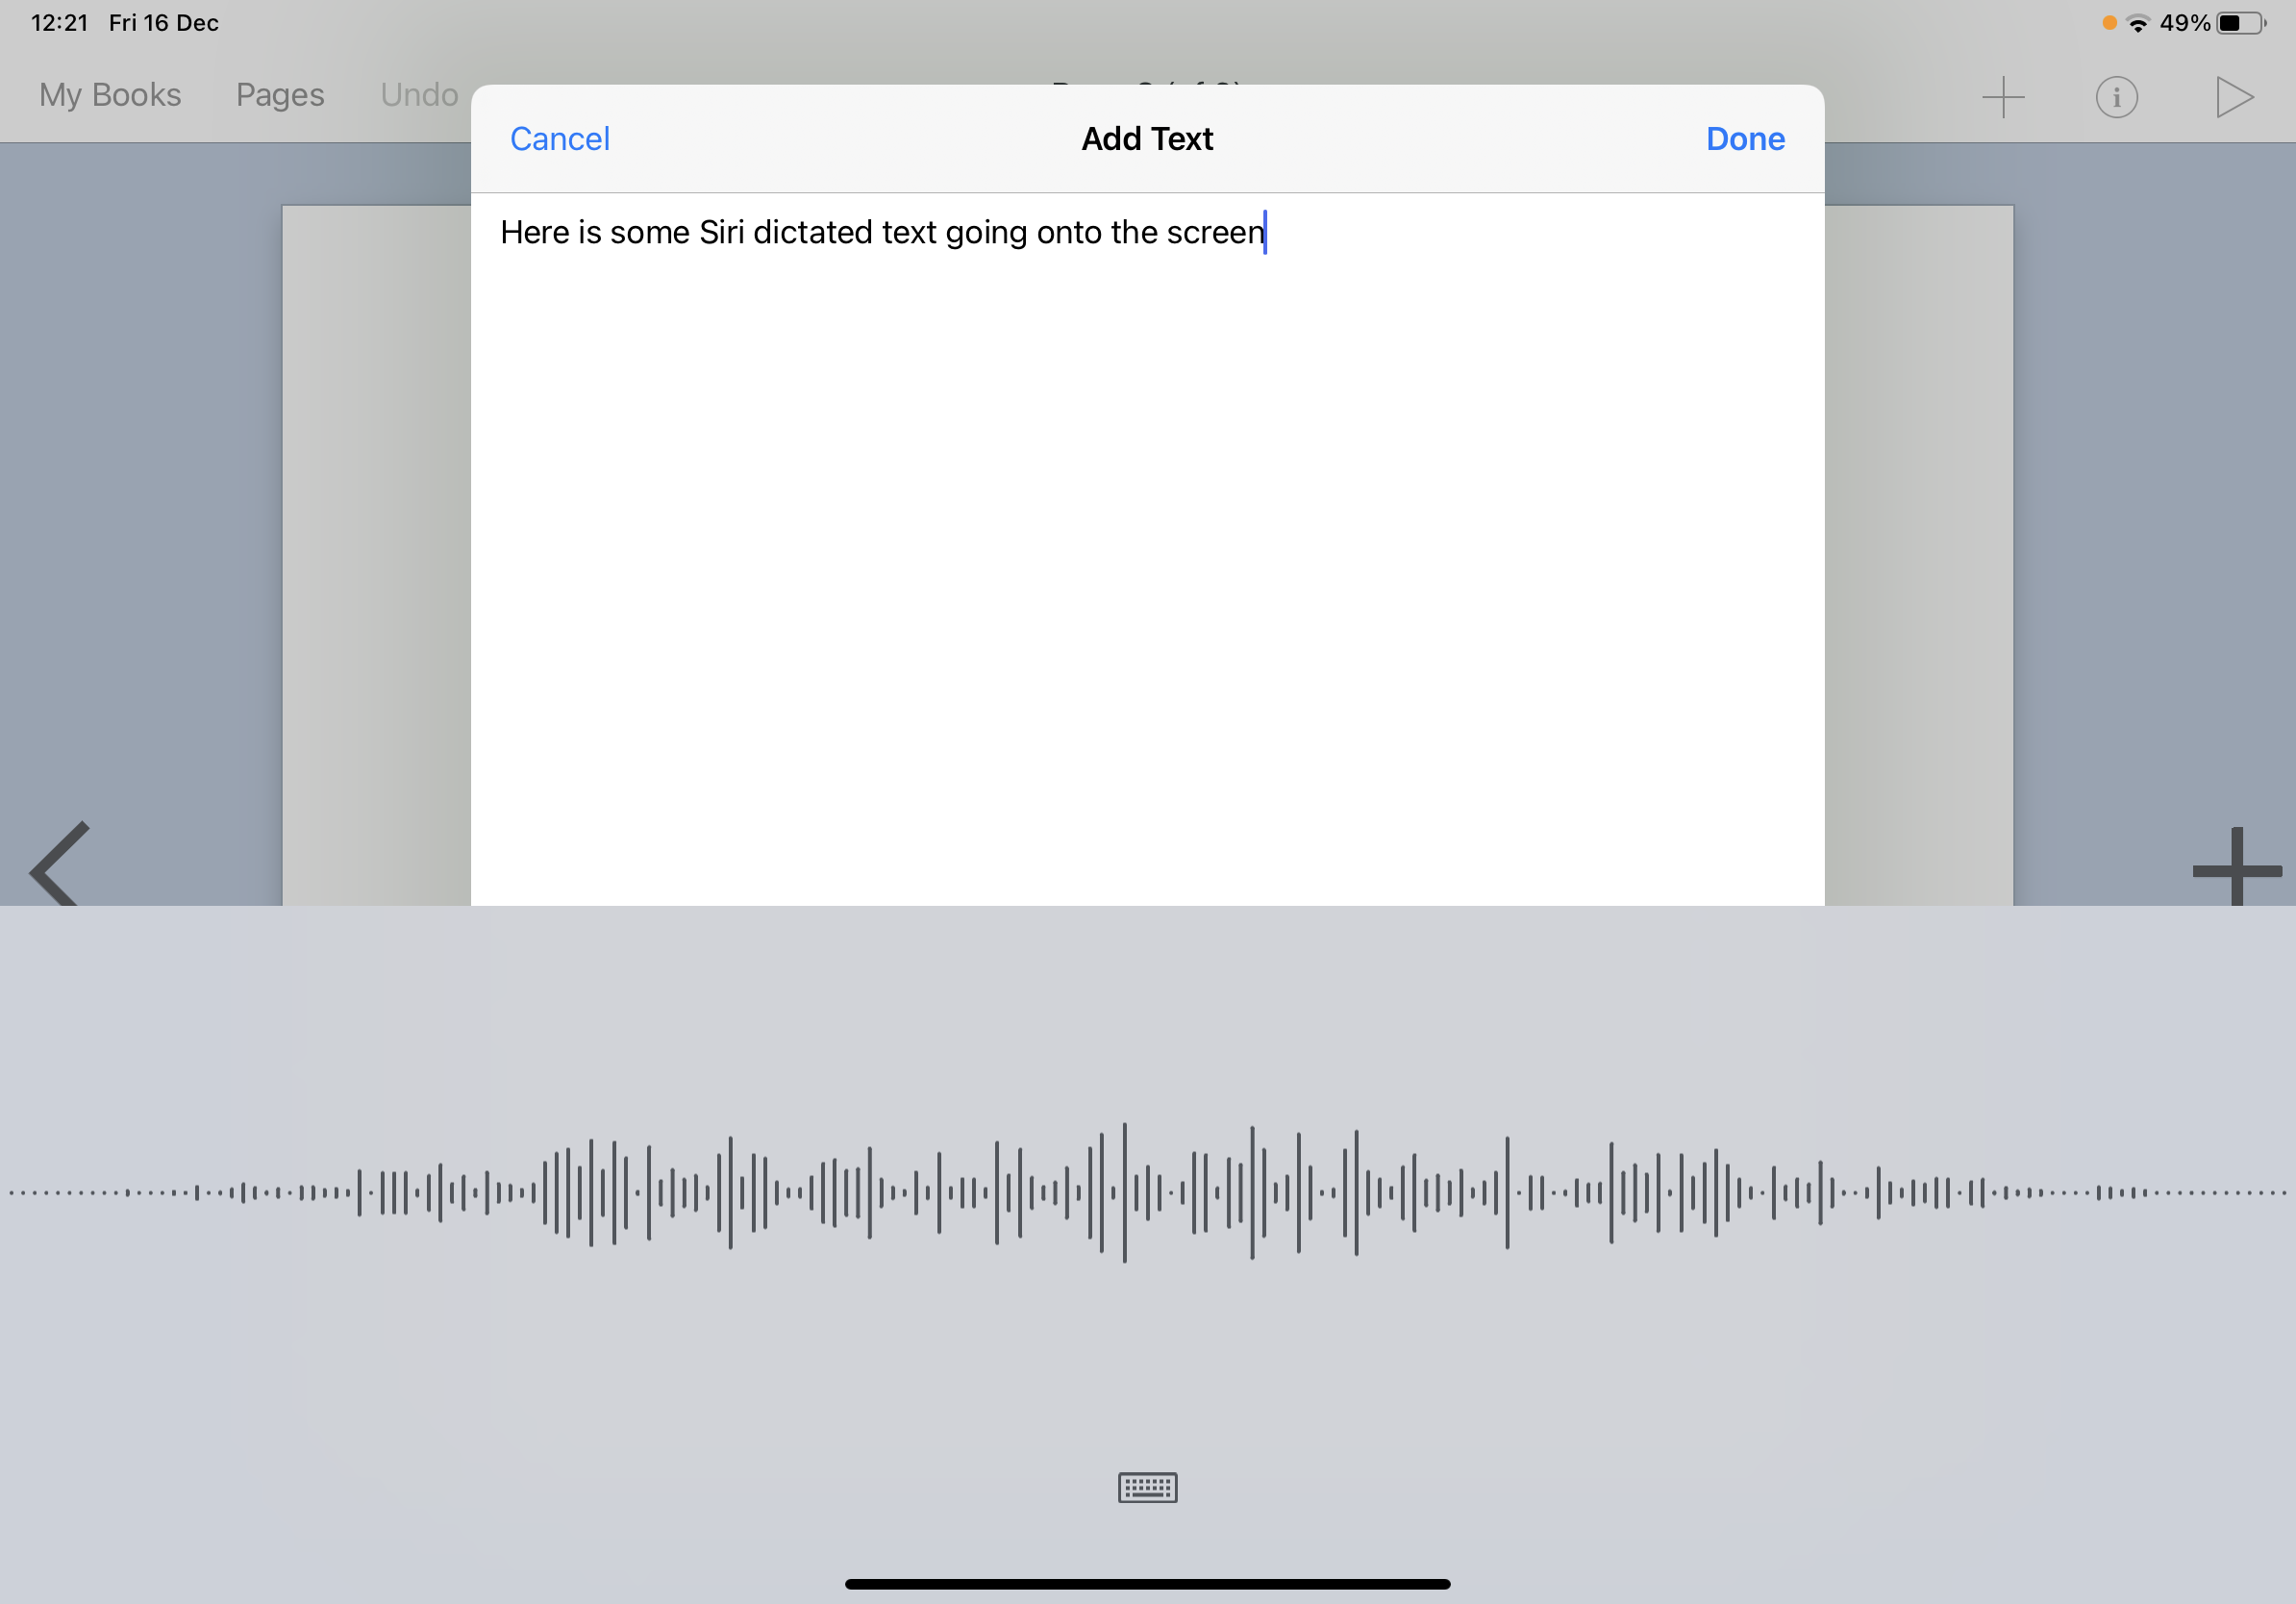
Whilst we’re on the subject of handwriting text, it’s worth pointing out that Siri dictation is easily accessible within the Book Creator app. Dictation offers yet another layer of accessibility for learners with poor fine motor skills or spelling difficulties. Choosing the ‘Text’ option opens the iPad’s standard keyboard. As a result, the Siri Dictation microphone will appear in the bottom left-hand corner. Learners can use this function to dictate large swathes of text or simply use it to type the odd word here and there. It’s fair to say that overusing dictation tools and spellchecks can have an adverse effect on spelling abilities, but for some children this functionality can be a lifeline, stopping them from getting unnecessarily frustrated by their own abilities.
Adding Sound Clips
For some, using the keyboard on any level simply isn’t an option. Book Creator can cater for this need through the ‘Sound’ option. Utilising this function turns on the microphone built into each iPad. With the tap of just a few buttons, learners can record their voices or capture sounds of any description in the classroom. Capturing some dramatic poetry reading or teasing out the expression in some writing could arguably be better served by the camera tool (as detailed previously). However, not every student is comfortable being on camera. The sound recording option negates any filming anxieties as well as offering another accessible option.
An accessible finished product
So far, I have been exploring the accessible elements of Book Creator that help learners create something in the first place. However, it’s important to point out that a finished book is an accessible piece of work in itself. All of the multi-media elements that go into the book are then presented back to the reader. Therefore, visually impaired students can access sound recordings. Learners with low reading skills can access the video content. Even the typed text can be highlighted and read out by the iPad’s ‘Speak Selection’ accessibility feature (for more information on this read our Making Learning Accessible Article [Link -https://ie.selectonline.com/education/accessibility] Overall, the finished product is not just a book that relies solely on the ability to read. The layers of accessibility work both ways.

The power of Book Creator is the power of choice. The app presents its users with a blank page and it’s up to them how they fill that page. In the teacher guide, I’ll show you how easy it is to populate the screen with engaging and accessible elements. Whilst the guide is a step-by-step tool, it’s important to remember that learners of any age and skill set can use Book Creator in their own way, going in whatever direction their imagination takes them on. Ultimately, this is what makes Book Creator so accessible.
Teacher Guide – Creating a Front Cover on Book Creator
In this teacher guide, we will look at the basic features of the Book Creator app. Learning to utilise some of these more simplistic features will set you up to use more of the multi-media elements in the future…
Step One: Creating a Blank Template
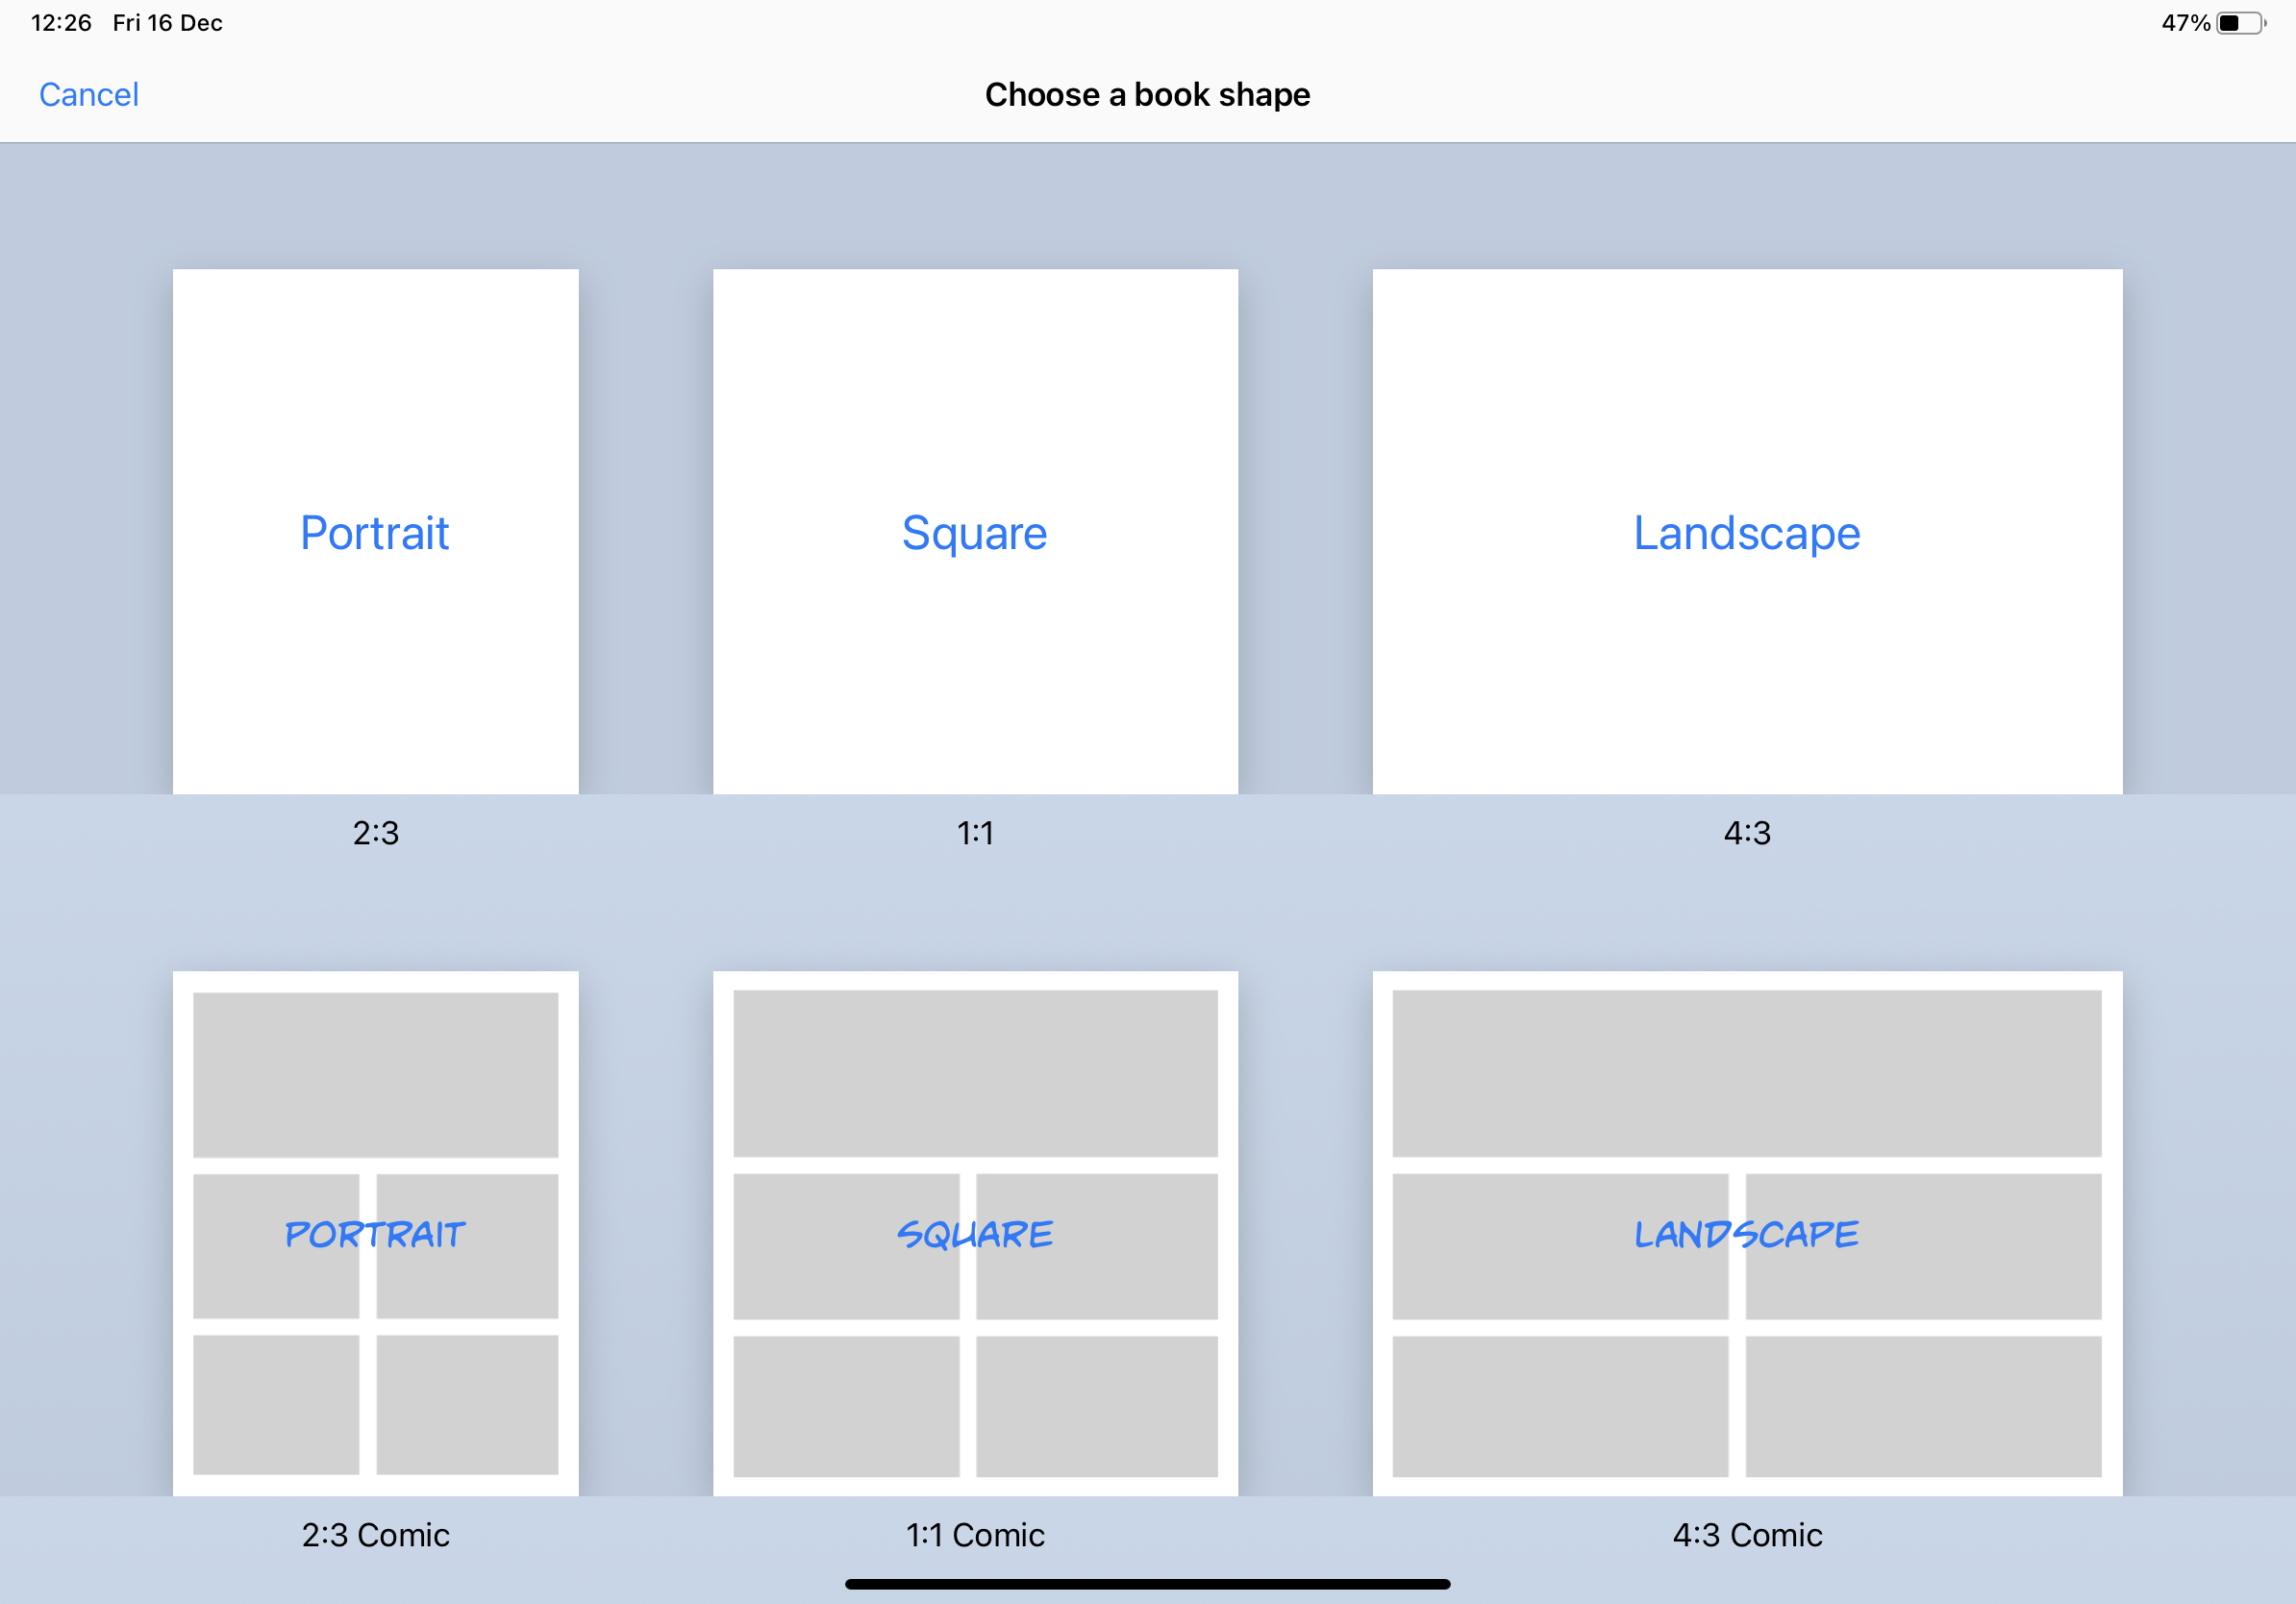
When you open Book Creator you’ll be met with a simple home screen with a sample book to look through. You can create your own book by either tapping on the plus in the top right corner or by tapping on ‘New Book’. From there you will find several different book templates to choose from (including comic book options if you scroll down). Choosing the style of your document is all you will need to do to get creating.
Step Two: Changing the Page background
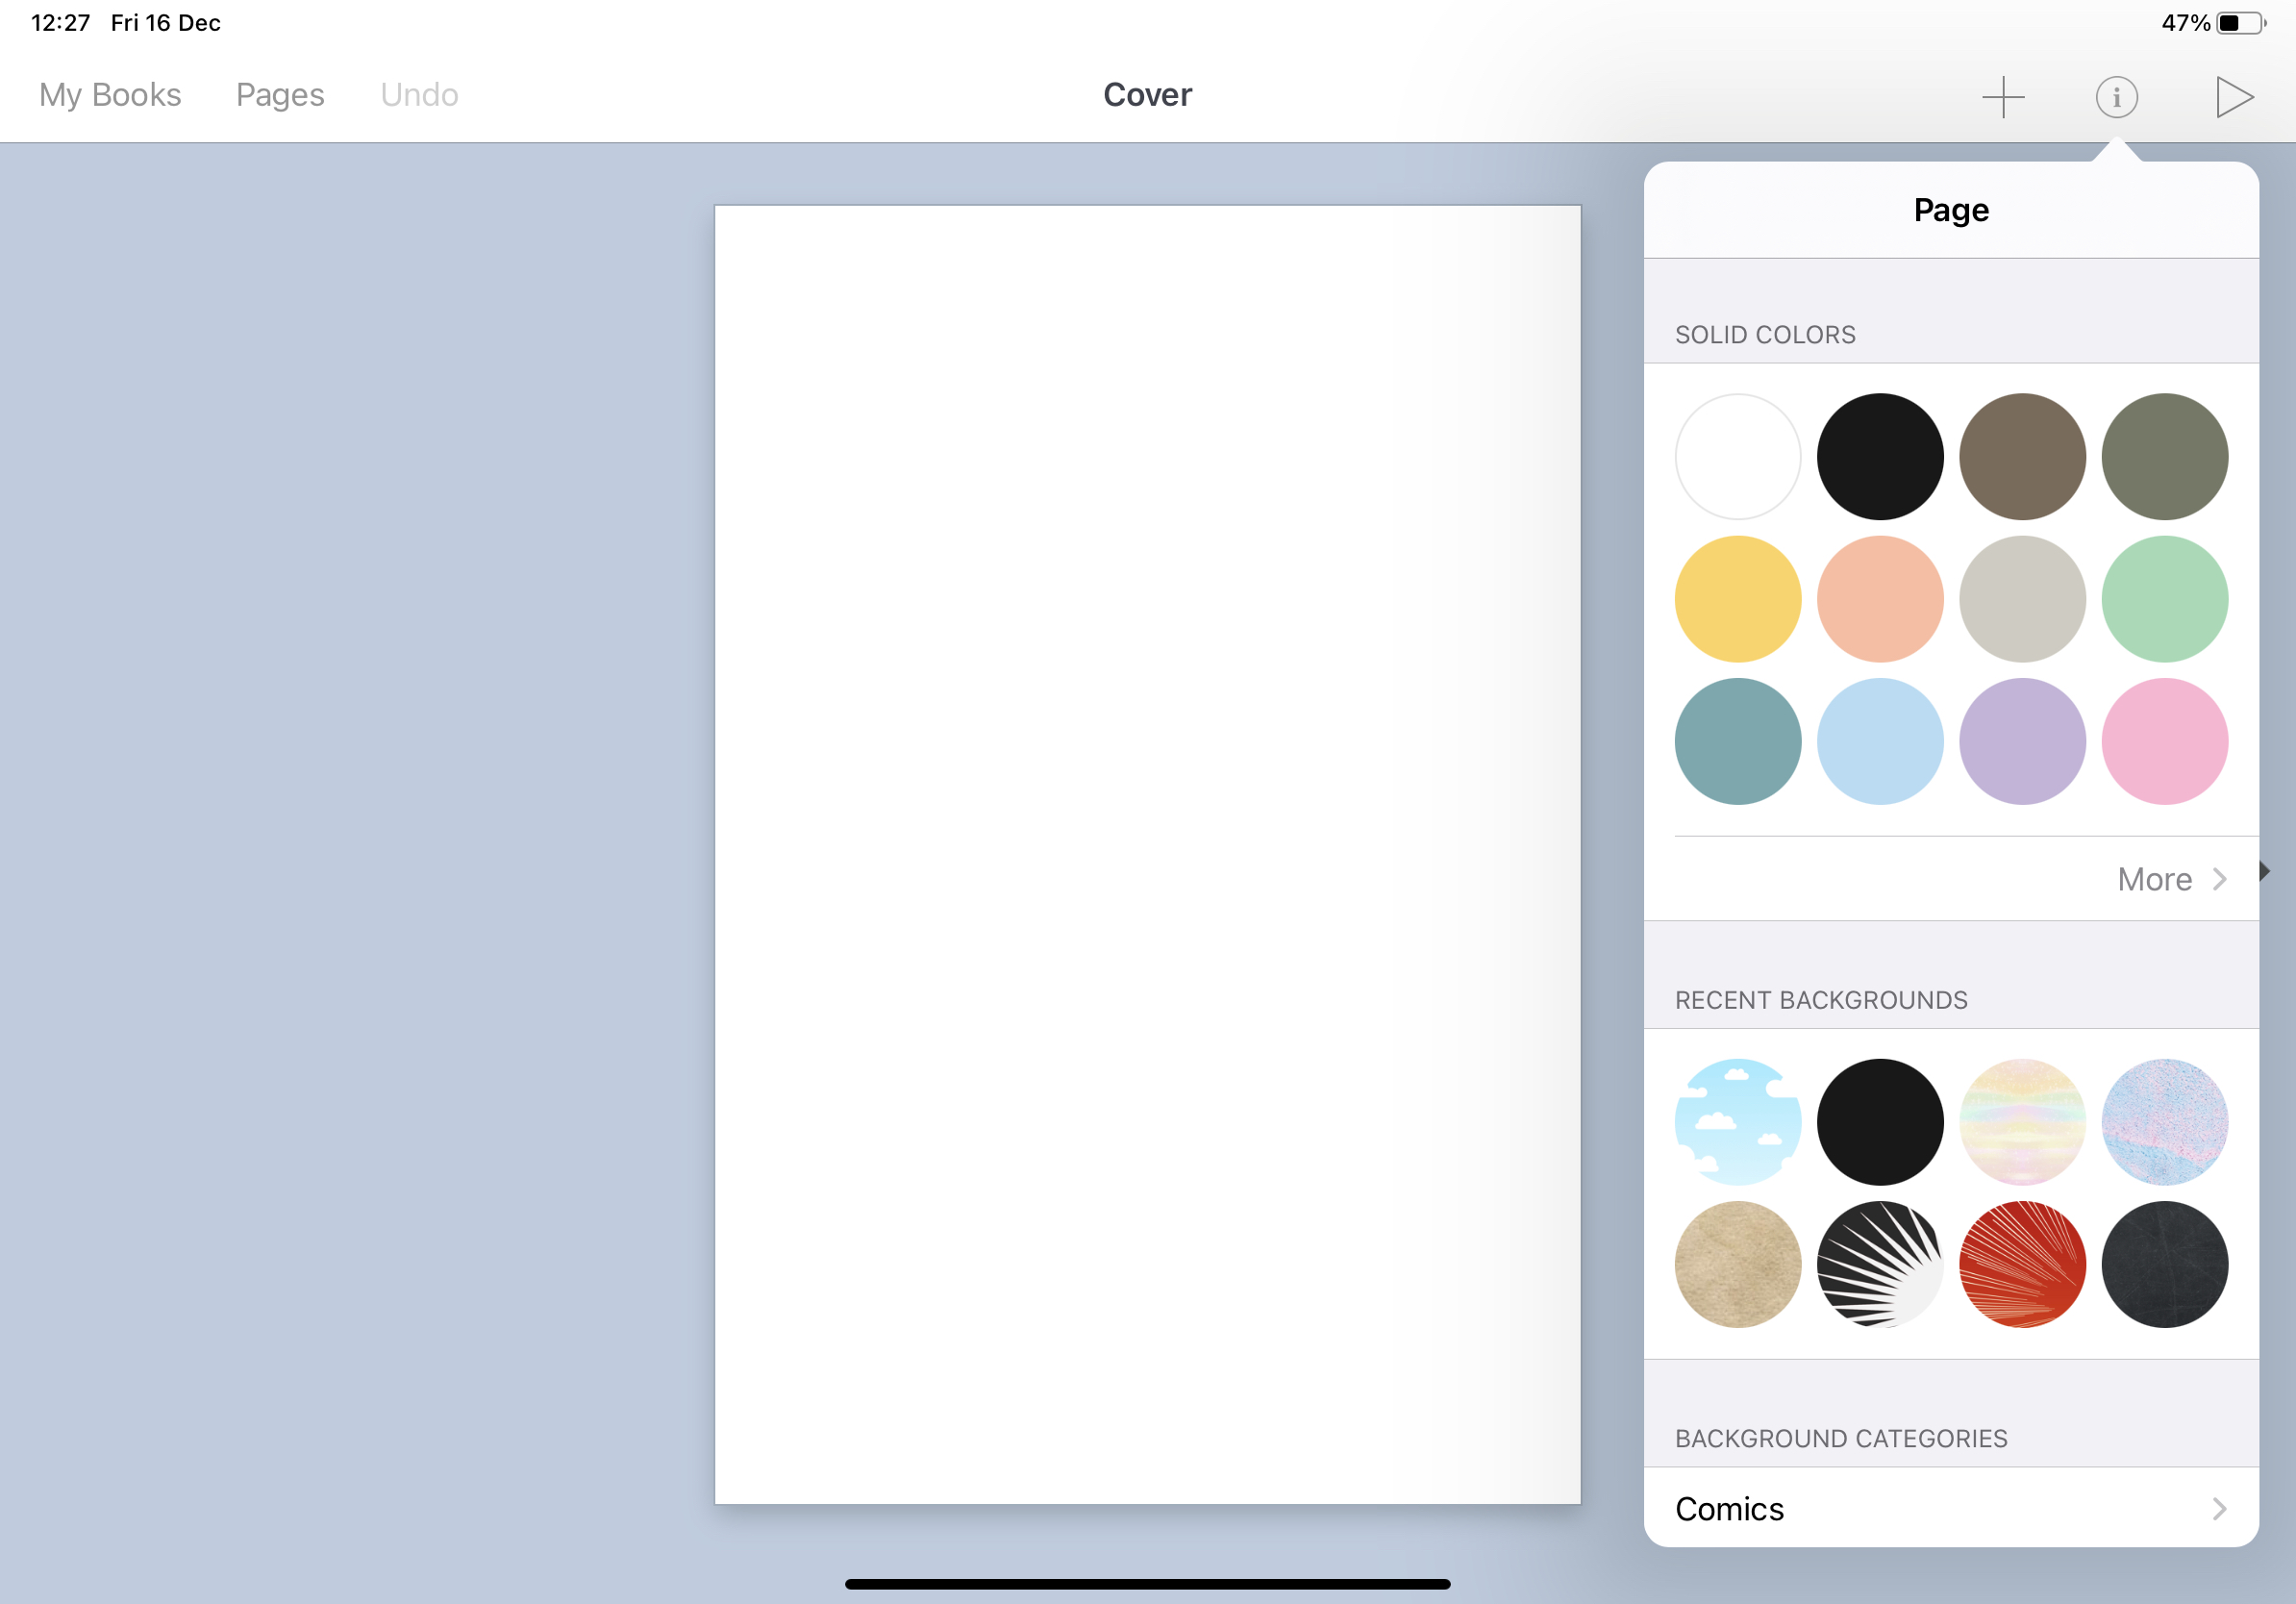
Before I add any content to the front cover, change the background. Do this by tapping on the ‘i’ icon found on the top right-hand side of the screen. This is the ‘Inspector’ and essentially it is a smart editor. In other words, the ‘Inspector’ will show you editing options for anything you have selected on the page. Because I haven’t selected anything (or even added anything to the page yet), the Inspector will show me editing options for the page itself. From here, I can browse through the various background options. Using the cloud option.
Step Three: Adding a Title
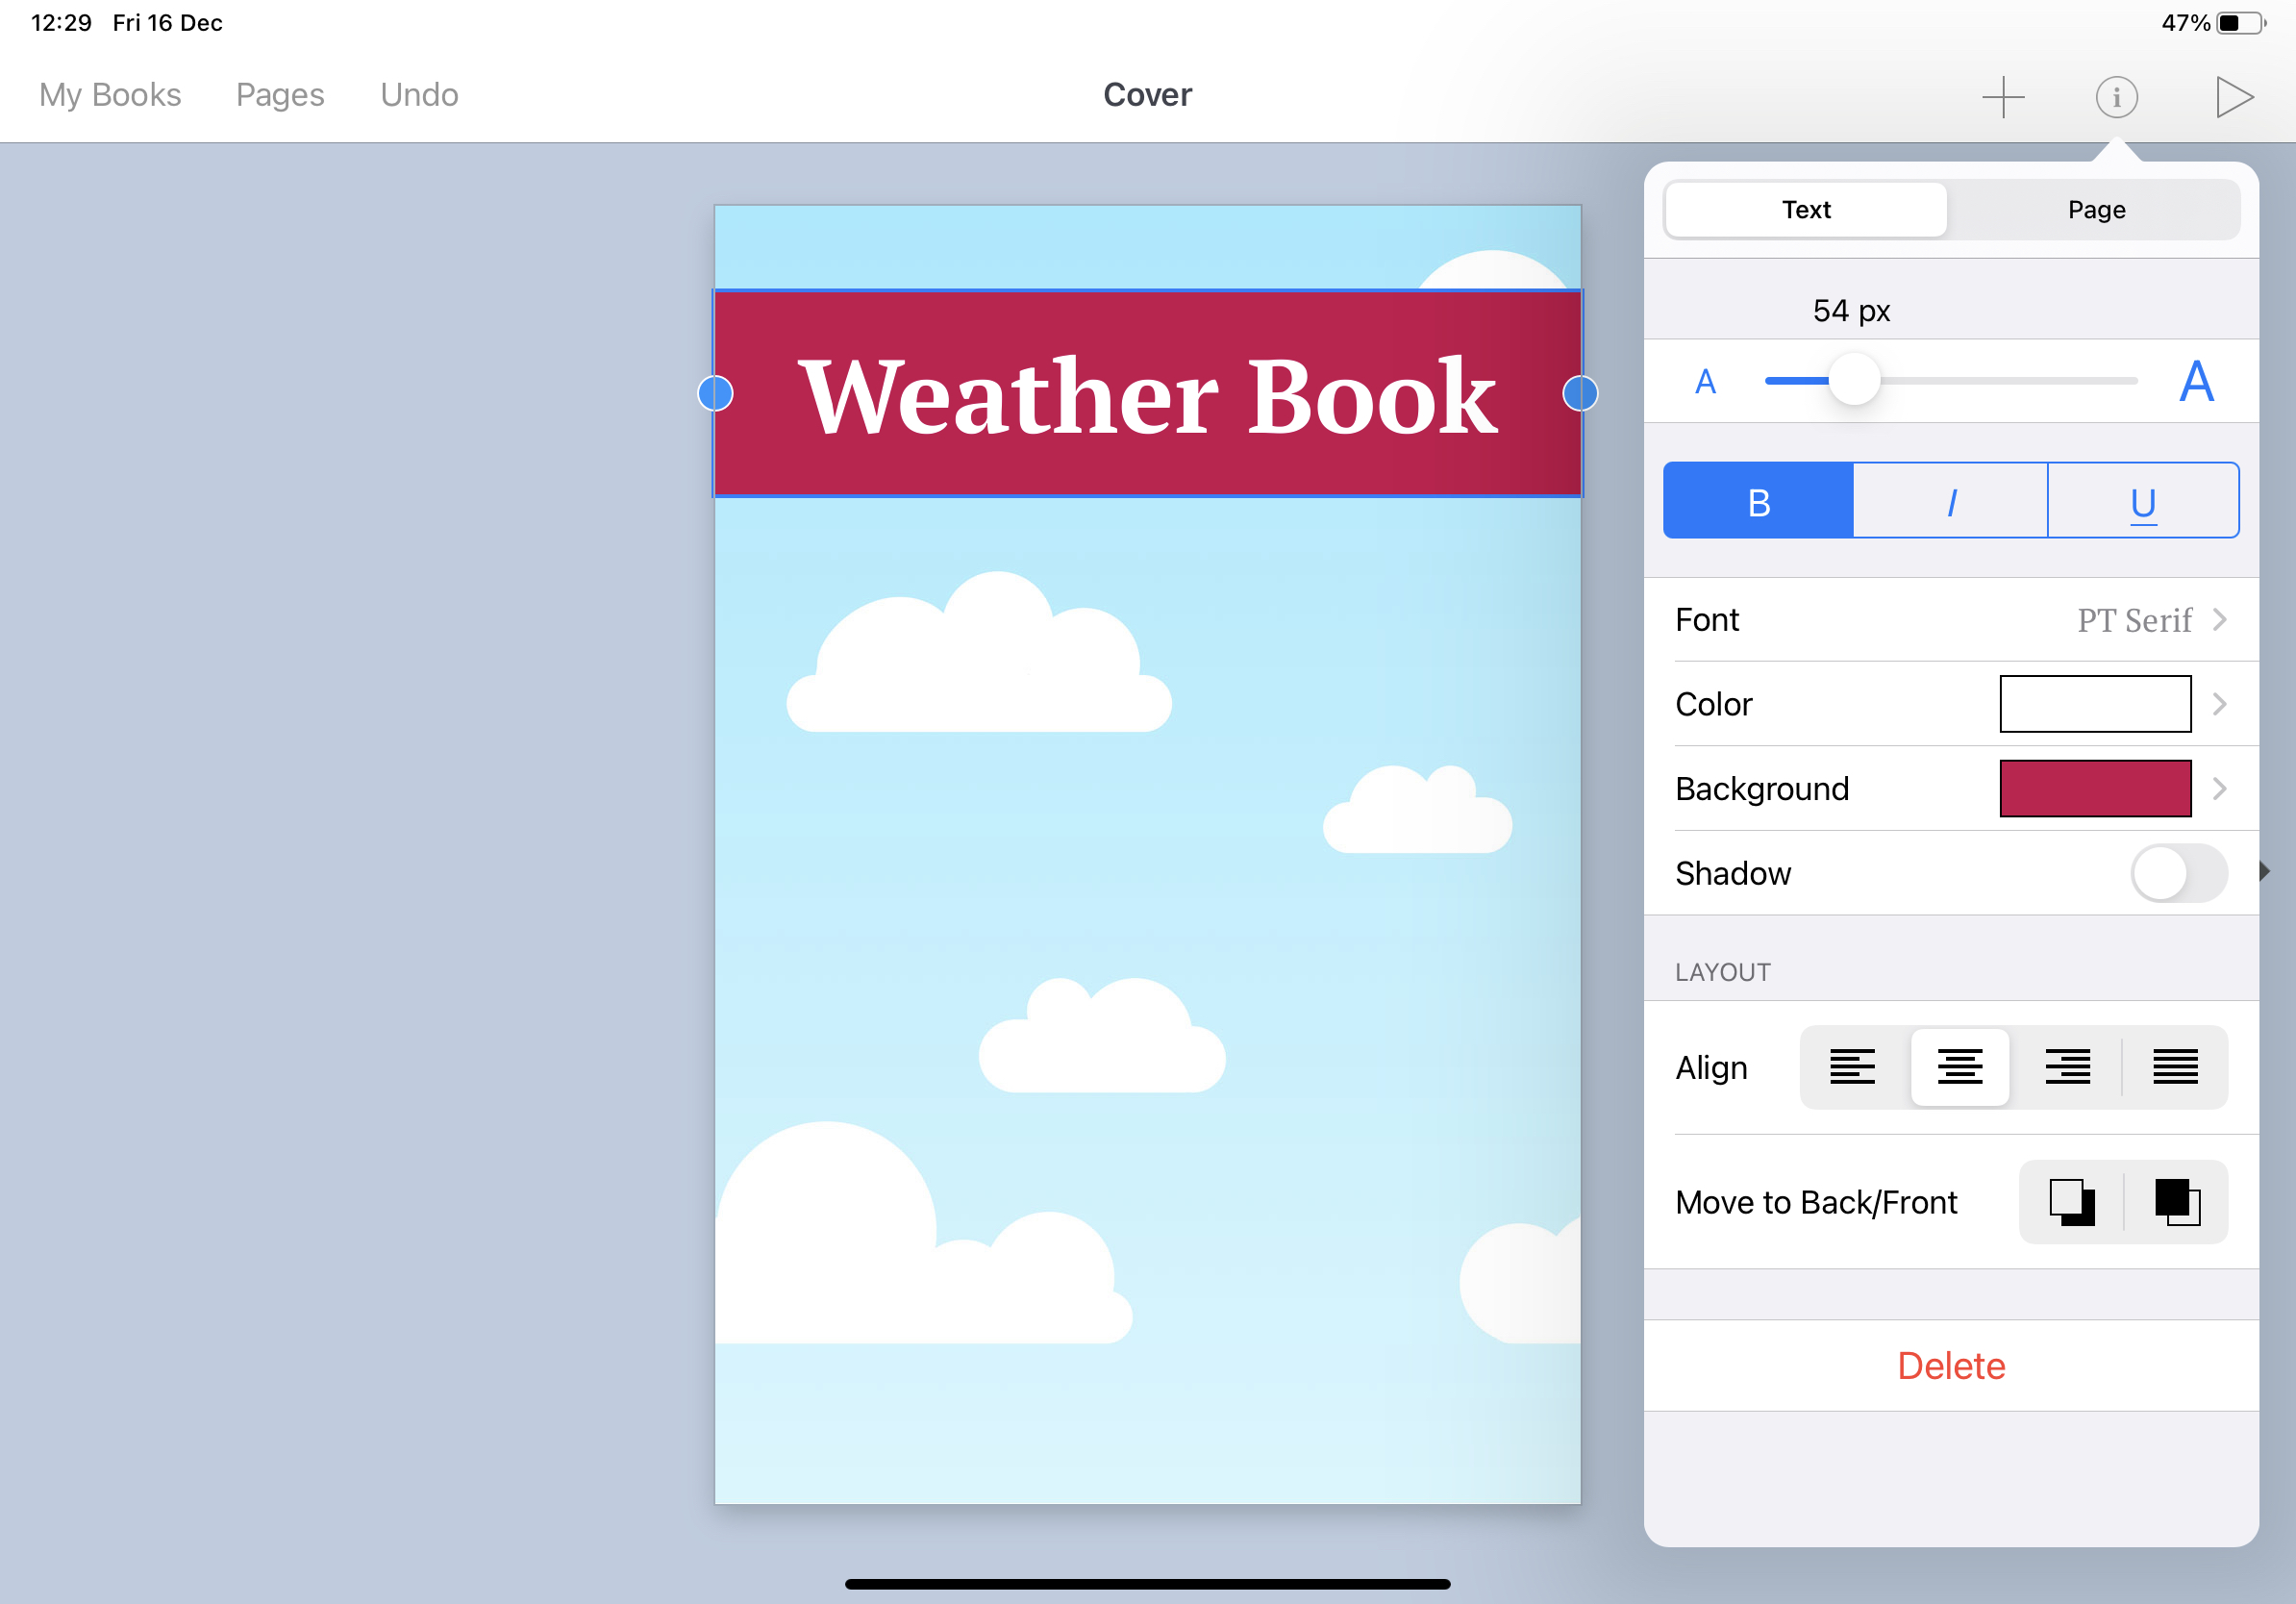
Now that the background is set, type in a title. To do this, I must first tap on the plus. This reveals all of the elements we can add to the page. In this instance, choose ‘Text’. Tapping this option opens the iPad’s standard keyboard so that you can type in a title. When finished typing, tap on done in the top left corner. As you will see, the font will be very standard and probably too small for the title of the book. To change this, tap on the text so that a blue box appears around the title. Then tap on the ‘I’. Because ‘text’ is selected the inspector will show you editing options for the text. Here you can choose from a range of fonts and sizes as well as being able to add background colours to your text box etc.
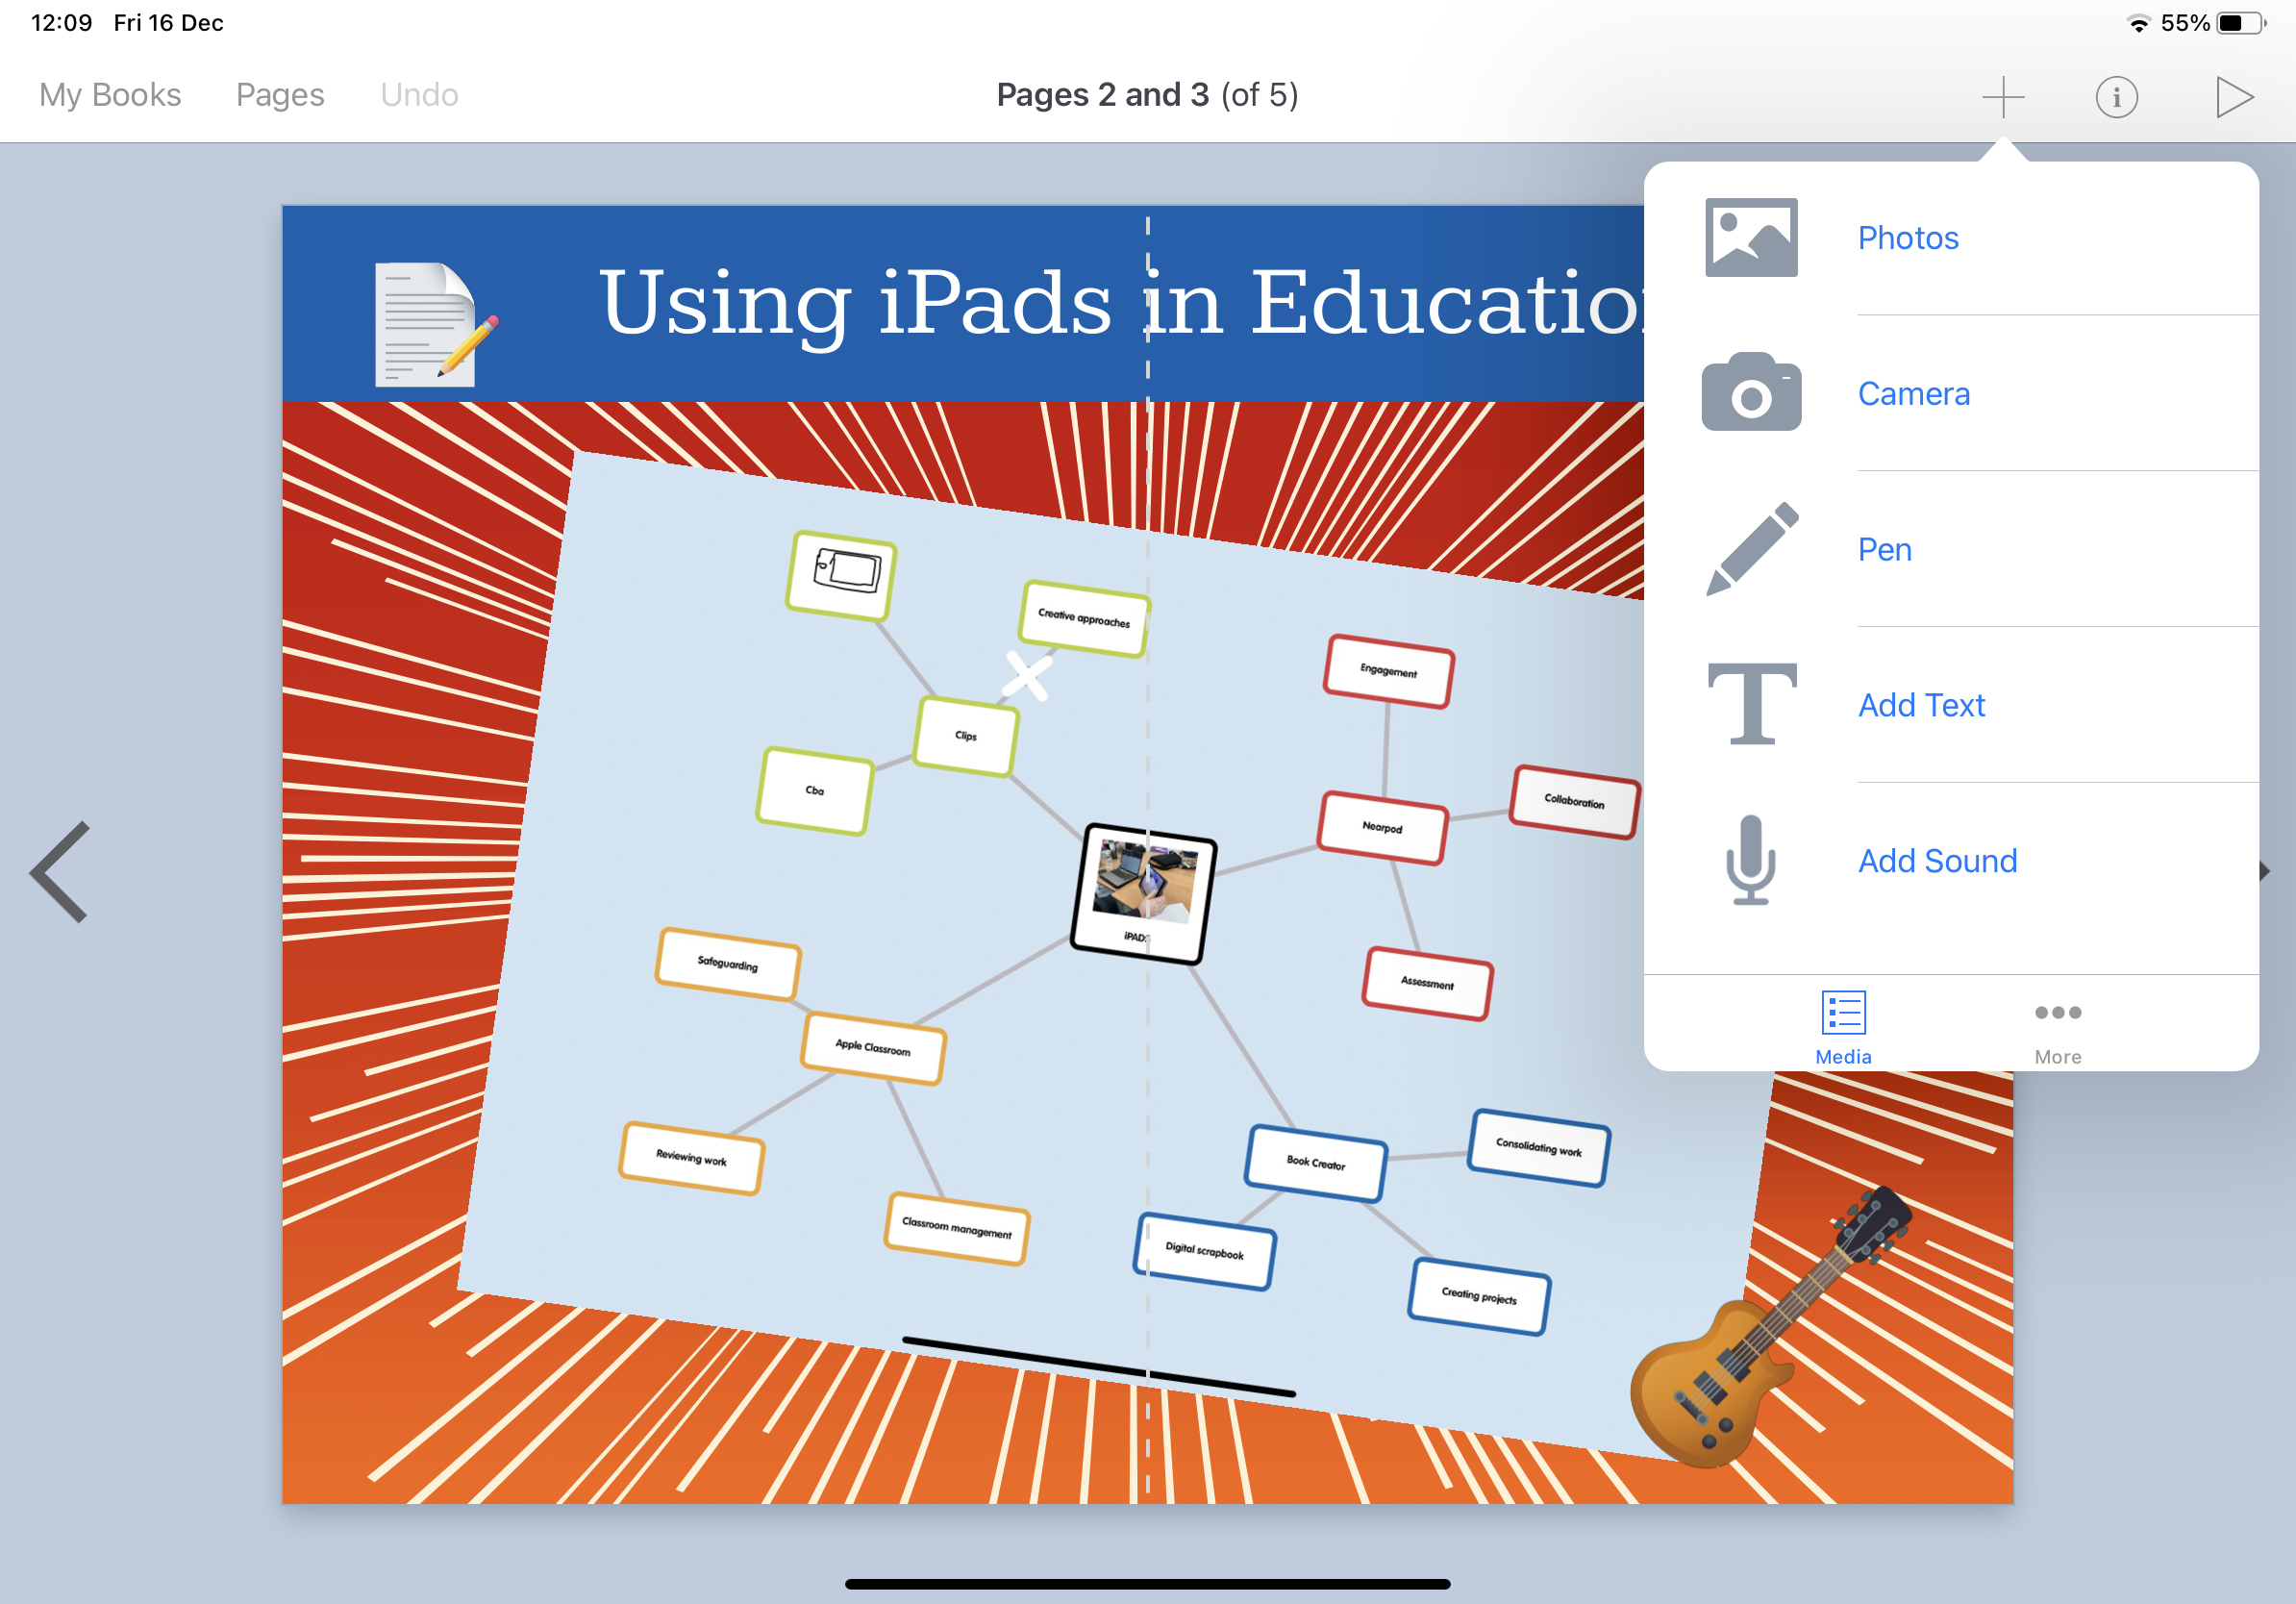
Step four: Adding an Image
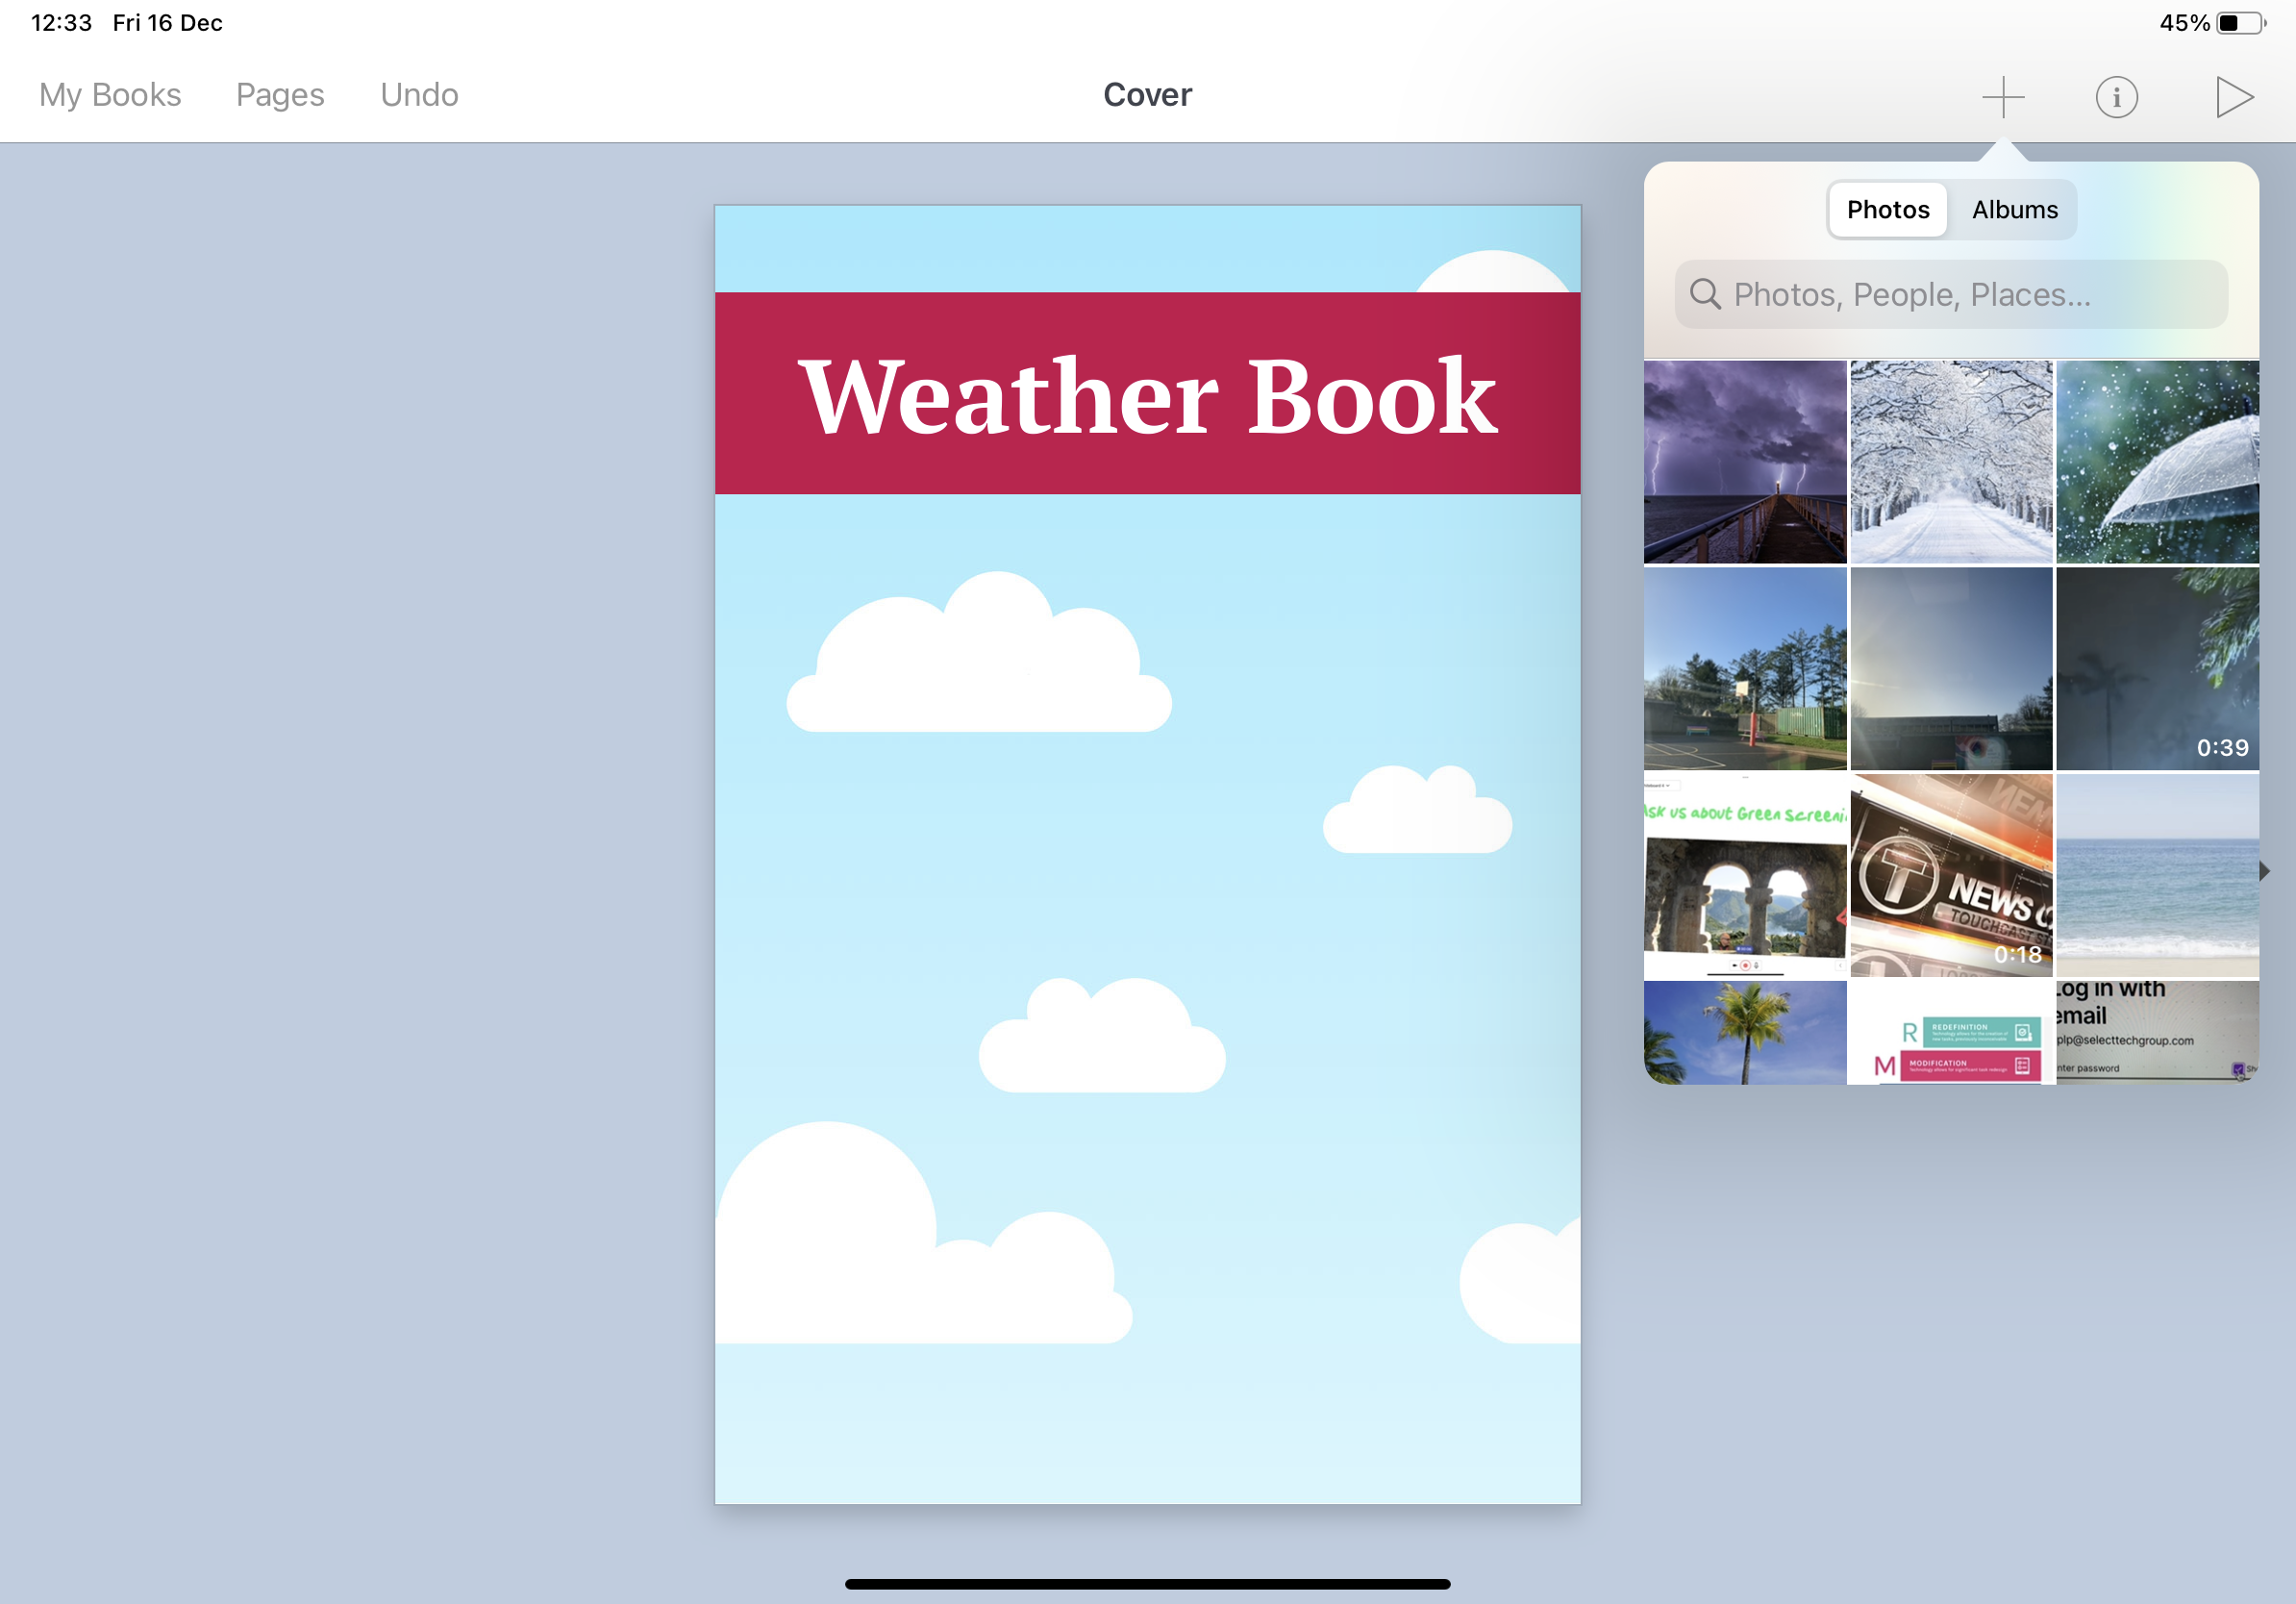
To add an image to the front cover, go to the plus again located in the top right-hand corner. You will find two options for adding imagery to your front cover. You can either tap on the camera and take a photo there and then. Or you can choose ‘Photo’. This option opens up your camera roll so that you can choose images you have previously taken or saved from the internet.
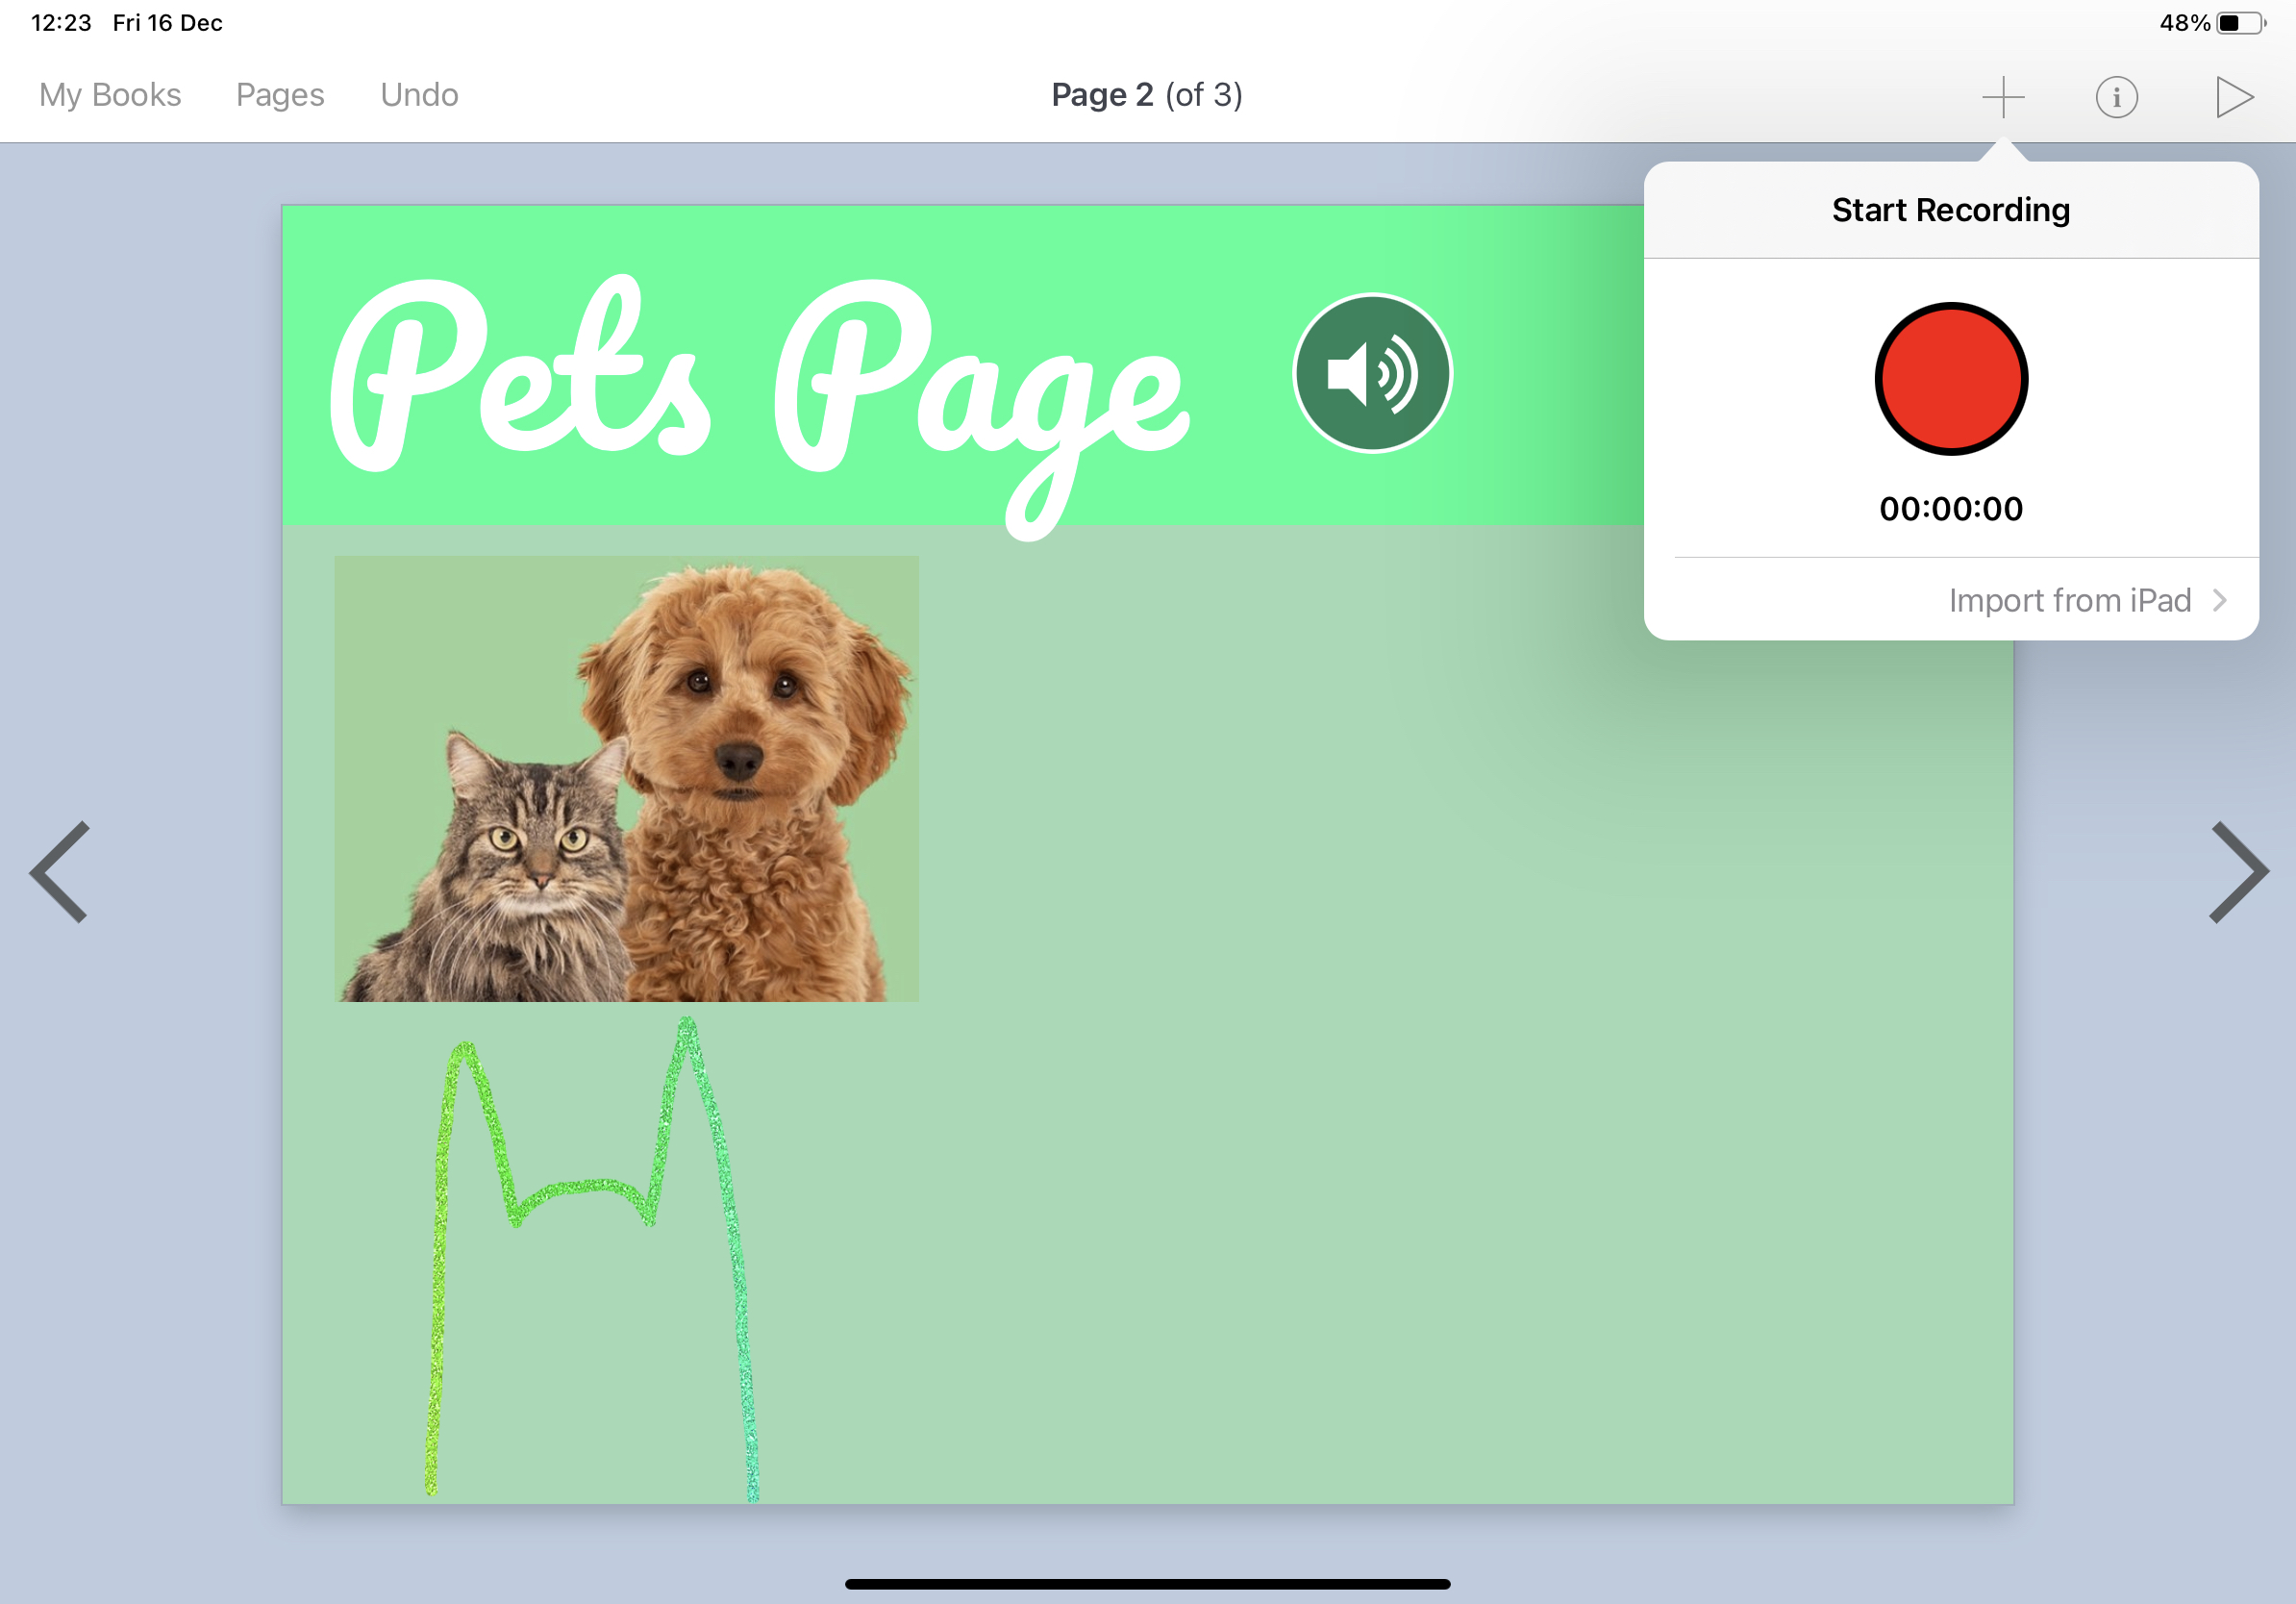
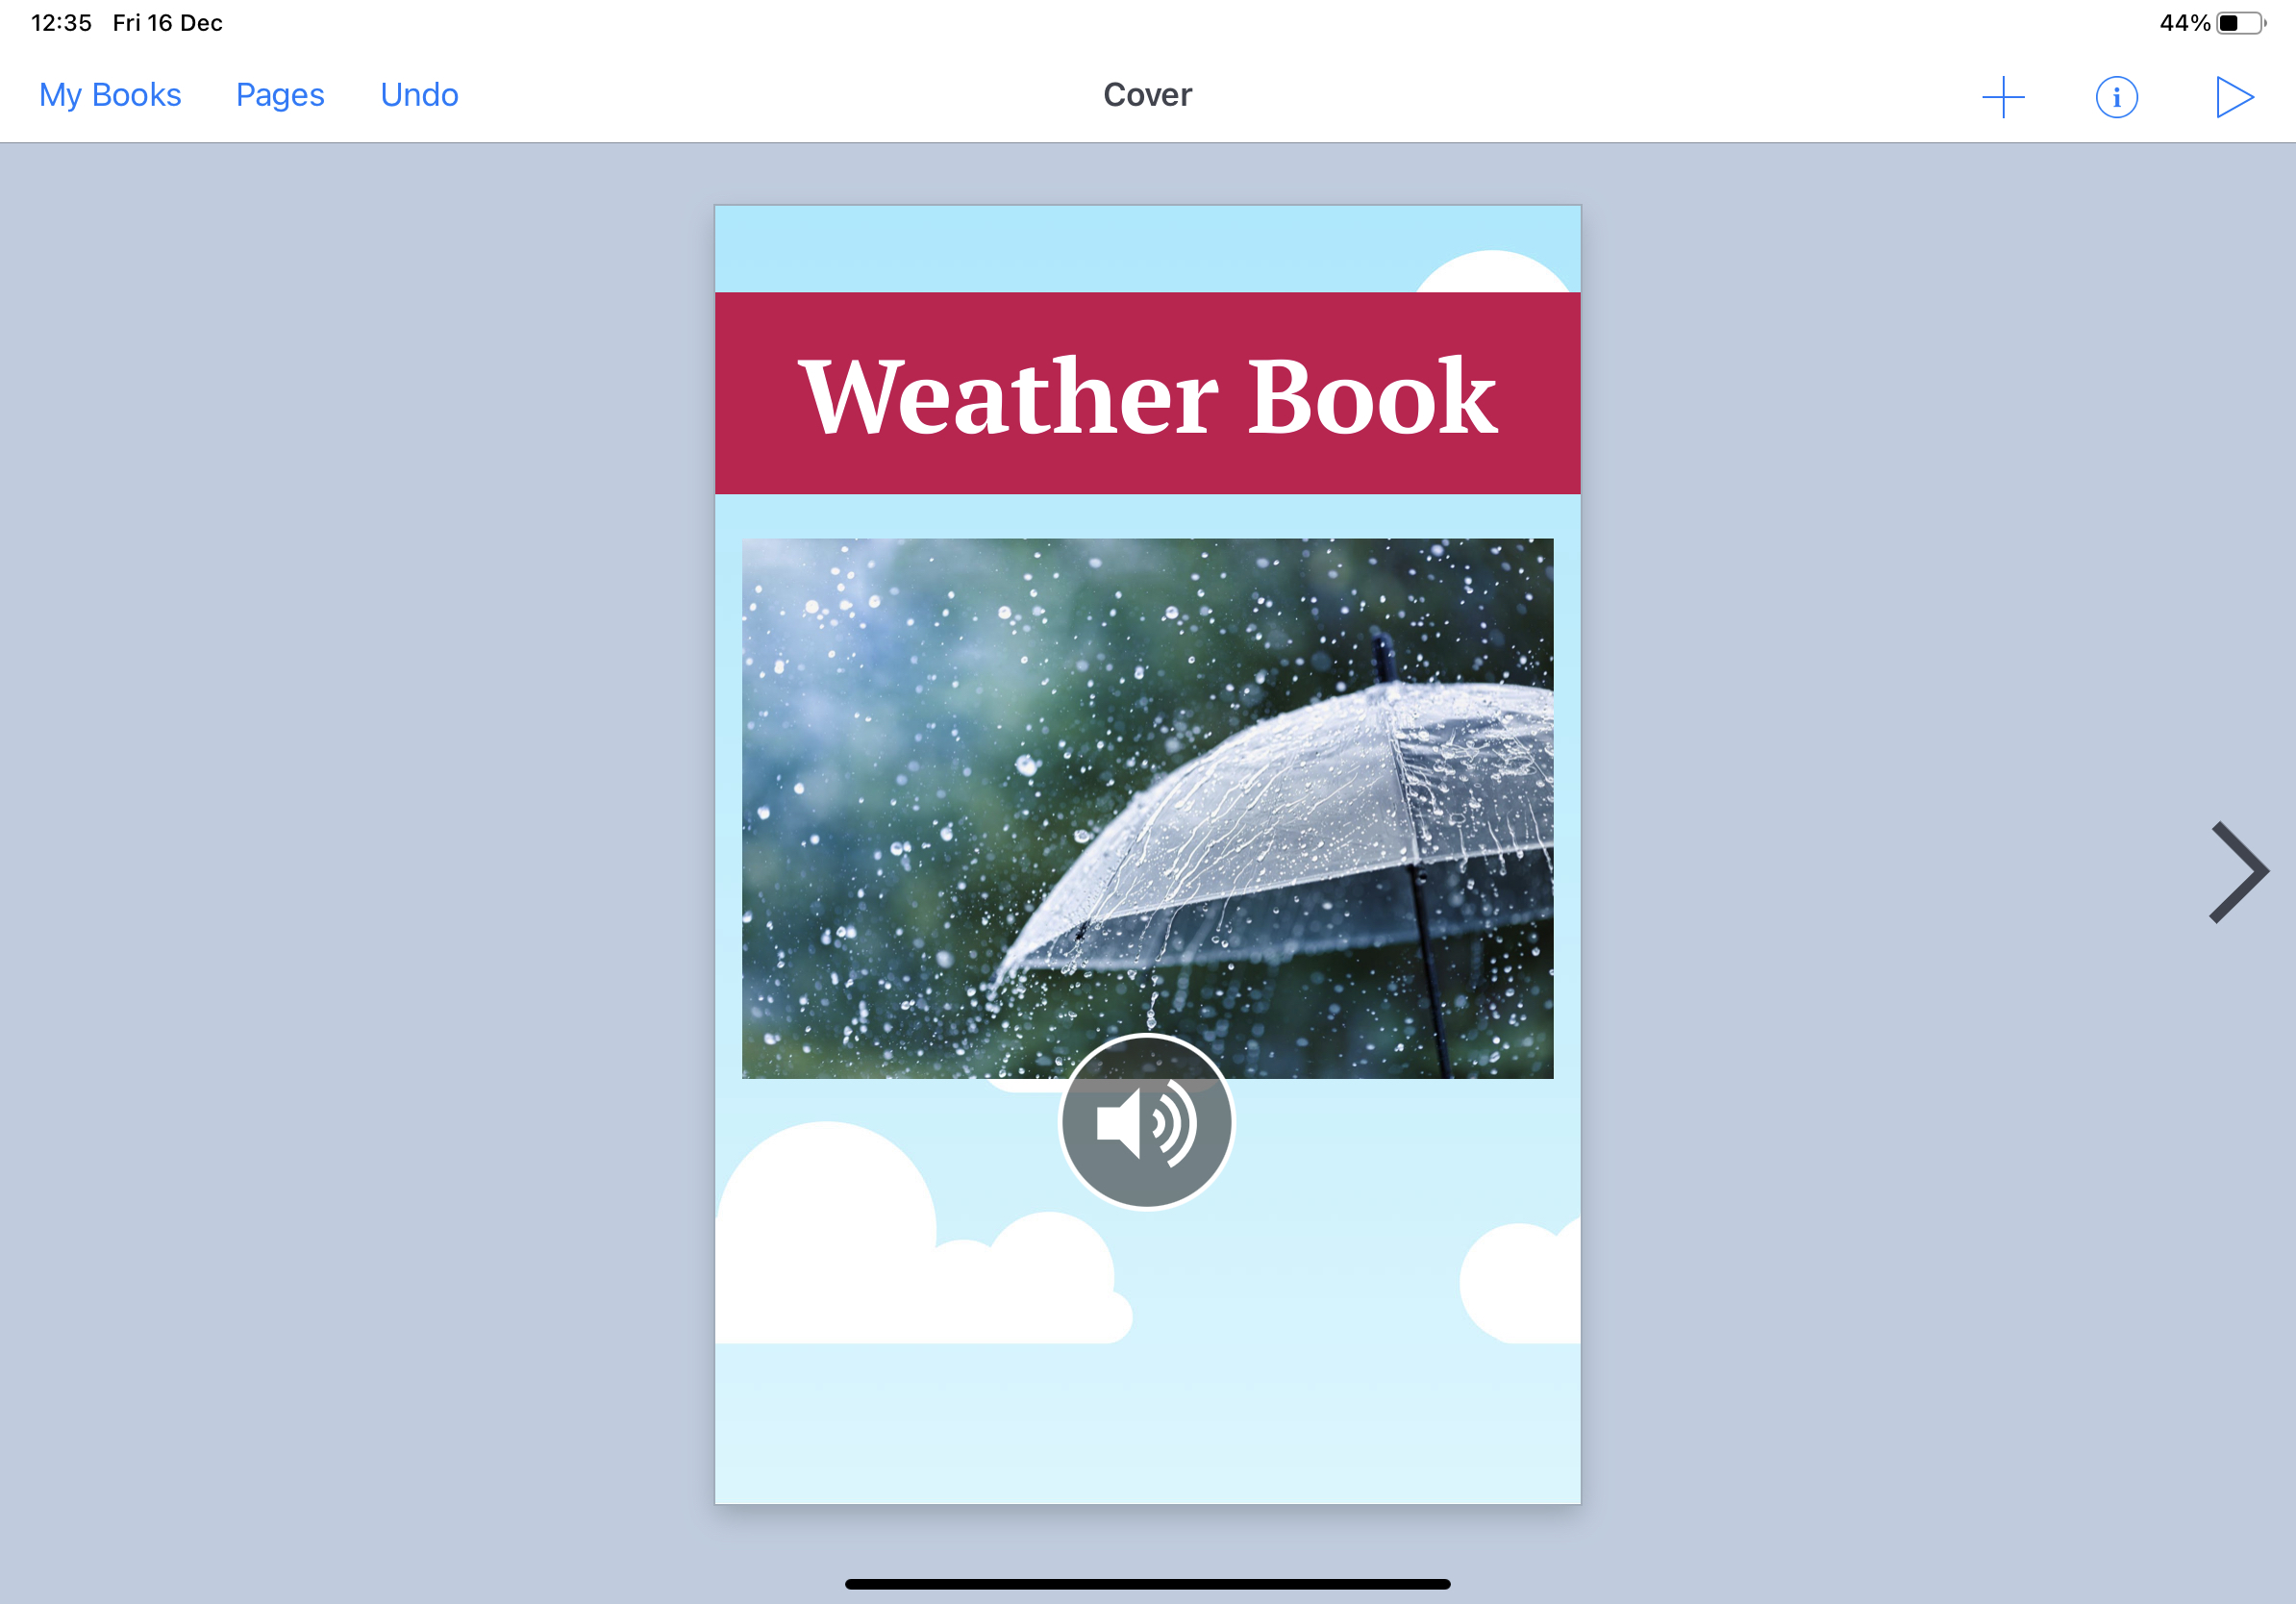
Step Five: Adding a Sound Clip
To make my book more accessible, add a sound clip that reads the title and describes the front cover photo. Again, you must return to the plus. In the list of options, you will see ‘Sound’. Tapping on this reveals a big red recording button. Be warned, tapping on the red button opens the microphone straight away and you will be recording sound instantly (so make sure you know what you are planning on saying). To finish your recording tap back on the red button that will have transformed into a ‘stop’ button after you tap record. If you’re happy with the recording, tap on Insert.
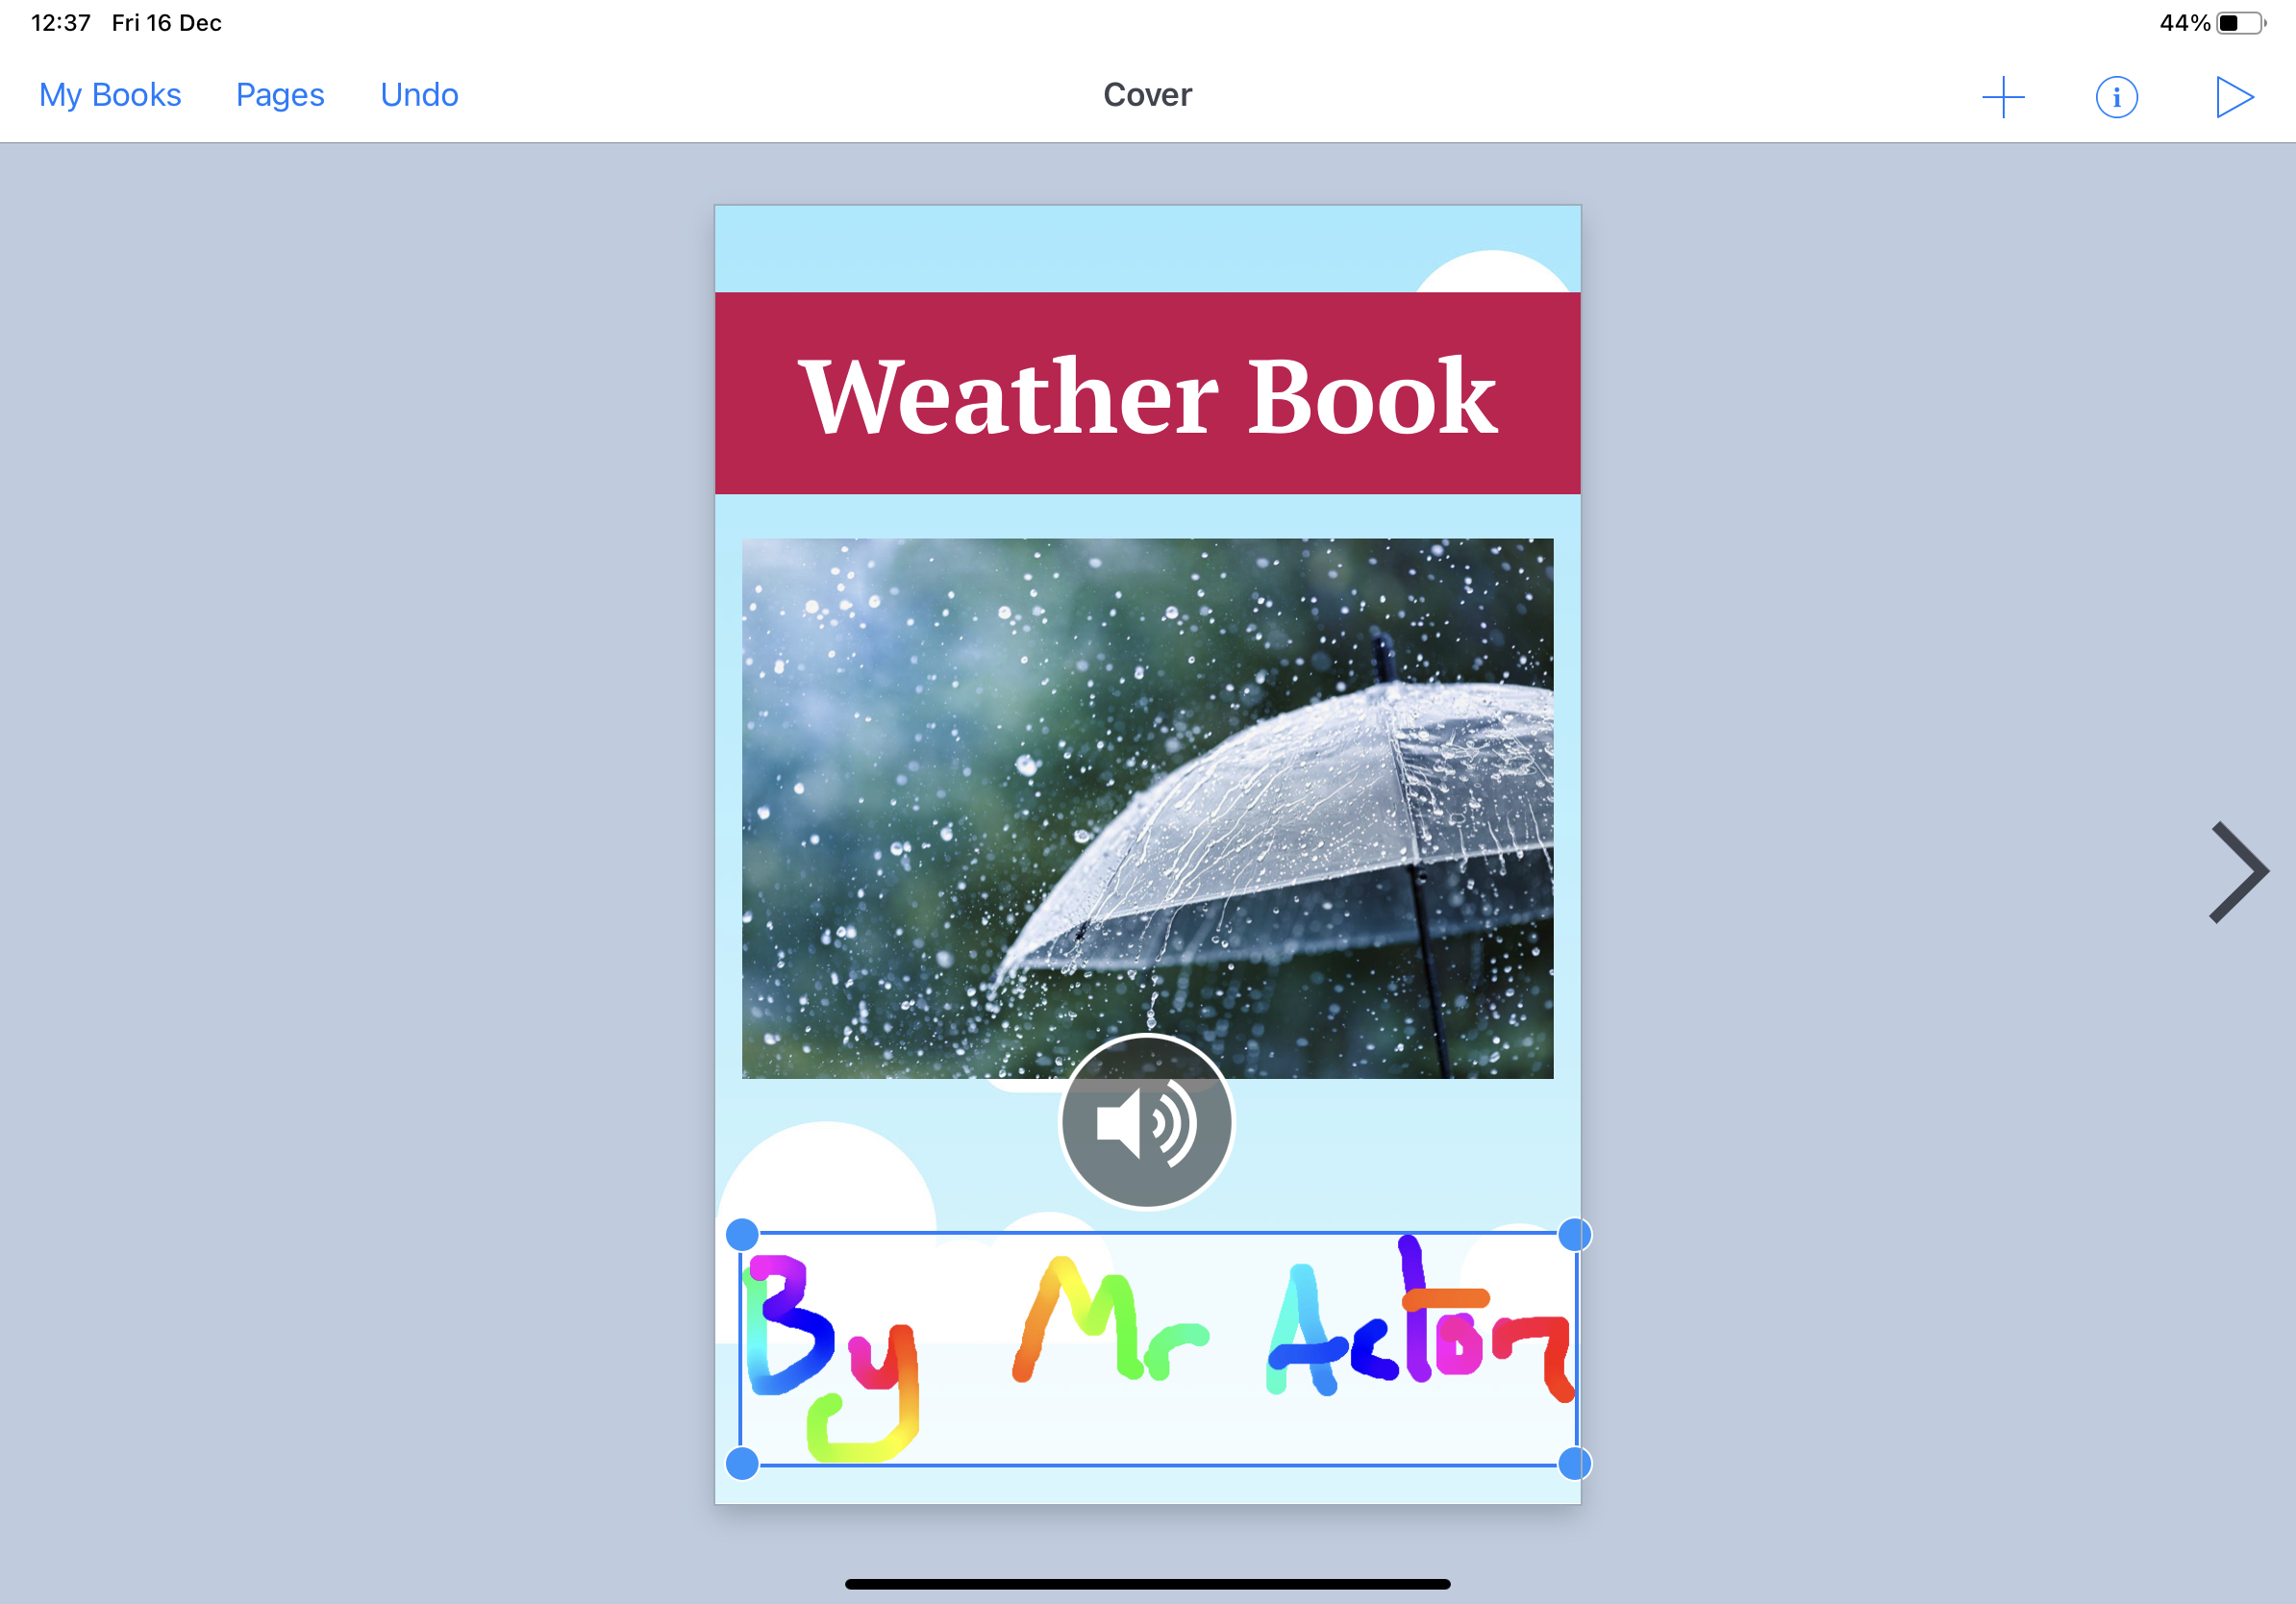
Adding a drawing ‘By Line’
The final element that is added to this front cover is a ‘by line’. Rather than typing this using the text functionality, use the drawing option to write ‘free-hand’. For the final time, return to the plus. This time, choose ‘Draw’. From here you can change the colour of the pen and its texture by tapping on the various options at the top of the screen. When you are happy with the style of the pen, use a finger or stylus to write on the screen. Remember, you can write large letters that can be shrunk down afterwards.
In just six steps, it is possible to make an engaging-looking front cover. In this guide, we haven’t explored camera options, shapes, emojis, alignment tricks and so on. There is so much more that can be down with Book Creator. On top of all the wonderful built-in features, it is possible to insert elements from other apps into a book. GarageBand music can be shared to a page and become a sound clip. Movies made on Clips can be inserted into a Book Creator creation. Crucially, however, all these options are simple and intuitive. This not only means that Book Creator is massively accessible, it also means that operating the app doesn’t override your lesson’s main objectives.